Introduction
Many have asked us which configurations they should choose when you install Debian 11 for VitalPBX to work optimally.
Here we will show you step by step how to do it.
First of all, we are going to download the latest version of Debian 11 at the following link:
https://www.debian.org/download
At the time of writing this blog, the latest version was 11.6.
https://cdimage.debian.org/debian-cd/current/amd64/iso-cd/debian-11.6.0-amd64-netinst.iso
Install Debian 11
When starting the installation of Debian 11, it will prompt us to choose the type of interface for the installation environment. We suggest choosing the Non-Graphical interface, which is the second option, as displayed below.

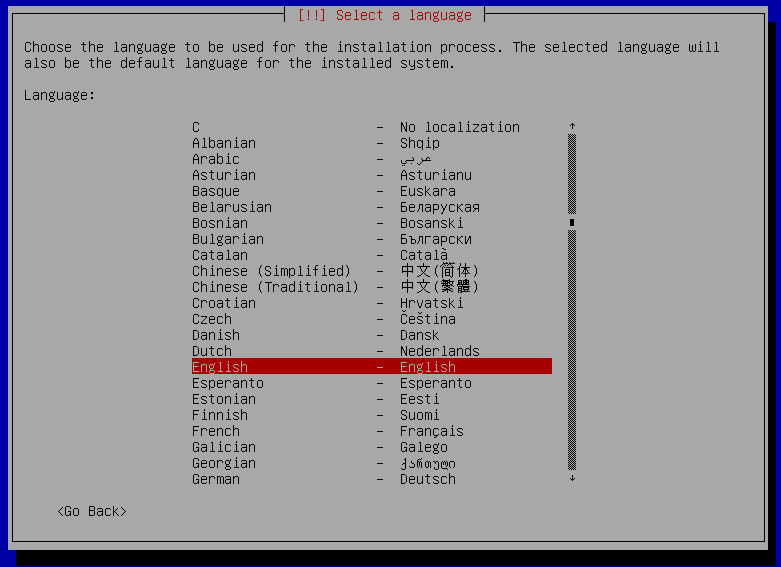
We select the language we want during the installation process. For this manual we will select English.
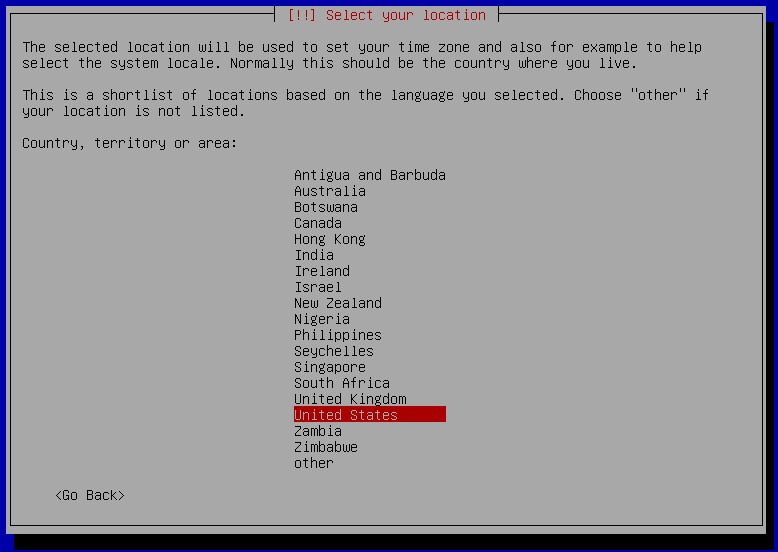
Now we are going to choose the territory where we are, this in order to select the time zone.
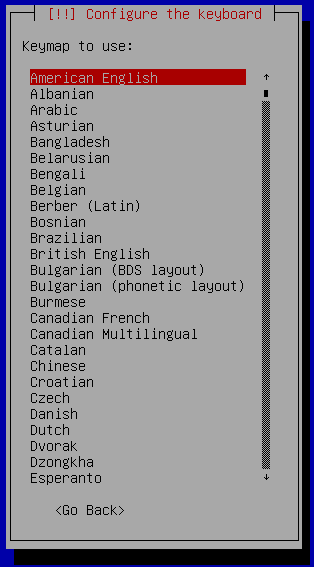
Next, we will select the type of keyboard to use.
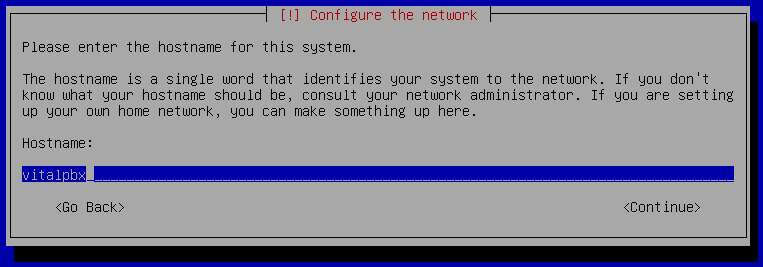
After about 30 seconds it will ask us for the host name, this will depend on what we want our server to be called, usually vitalpbx is chosen.
Next, it will ask us for the domain that the server will have. In this case, if we are going to use a valid domain name associated with this server, for example sip.vitalpbx.com, this is where we must configure it.

Now it asks us for the root password. This password is the one that we are going to use when we enter our server with the root user through SSH. We recommend a rather difficult password.
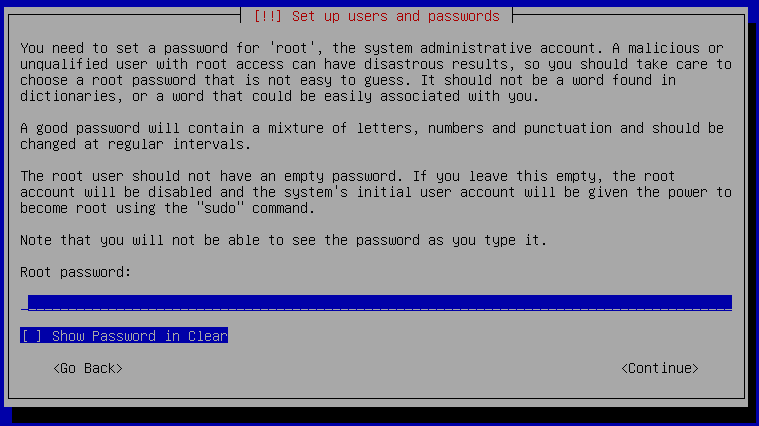
It will ask us for confirmation.

Now it will ask us for the name of an alternative user to enter.

Next, it will ask us for the username with which we will log in to the server’s ssh.

It will ask us for the password of the new user that we created.
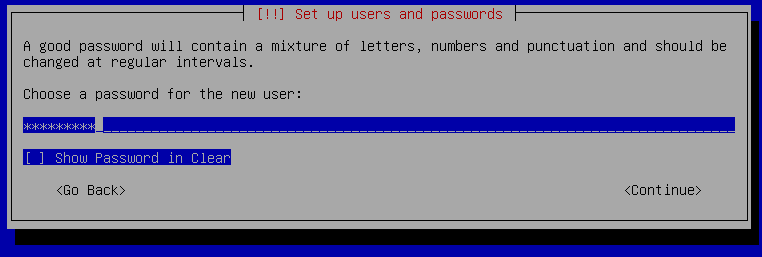
It will ask us for confirmation.

Now we select the time zone.

As it is a new installation, we are going to select the entire disk.

We select the disk where we want to install. In some cases, in servers that have more than one disk, the list will appear here.

We select everything in a single partition.

We select Finish.

And we confirm by selecting <Yes>.

Select <No> in the Scanning for media option.

Now we are going to choose the location where we want to download the debian packages for installation and future updates.

We select the repository server that best suits our geographical location.

If our server needs a proxy to navigate the Internet, we configure it here. it is usually left blank.

We select <No> when asked if you want to participate in a survey.

Now it will ask us which packages we want to install. Here only select the last two options: SSH Server and Standard system utilities.

When asked for the GRUB boot loader, we select <Yes>.

And we select the load device, which is usually /dev/sda. Although the some cases may change.

And finally, we give <Continue> and the server will restart and we will proceed to log in with the root user.

Once we enter we install the sudo package.
| apt install sudo |
Now we download the VitalPBX installation script.
| wget https://repo.vitalpbx.com/vitalpbx/v4/apt/debian_vpbx_installer.sh |
Give it execute permissions.
| chmod +x debian_vpbx_installer.sh |
Run the Script
| ./debian_vpbx_installer.sh |
We wait about 15 minutes for the server to restart and then we enter the IP through our favorite Explorer (we recommend Chrome) and it will ask us to enter the admin password for the first time.
For more details we recommend the following Blog:

