
Introduction
Hello, and welcome to a complete guide on how to use and how to install a PBX system wtih VitalPBX 4/4.5. Completely from scratch.
Throughout this set of lessons, you will be able to understand and configure VitalPBX from the ground up and become a VitalPBX expert.
We will go over every module that VitalPBX has to offer. Including our Main Application, Sonata Suite, and VitXi. We will also cover our different add-ons, troubleshooting scenarios, and many tools that will help you with your VitalPBX installation.
By the end, you will have a fully functioning PBX system full of capabilities for your business and your customers.
So, without any further ado, let’s begin.
Section 1 – Installation
Introduction
VitalPBX can be installed in many different environments. Here, we will cover every one of them, and you will see that the process is very straightforward.
With Version 4/4.5, we have transitioned to using Debian as our base operating system. So, if you are familiar with this environment, it will be even easier for you.
You can install VitalPBX on dedicated hardware, virtual machines, or VPS service providers. Like Amazon AWS, Google Cloud, and Digital Ocean, among others.
We have an ISO image available for easy installation, or you can begin with a minimal installation of Debian and use our installation script.
Let’s take a look at the first installation environment.
System Specifications
VitalPBX is very scalable in terms of the specifications required for installation. Depending on the number of concurrent calls you wish to have, you can determine the specifications for your server. We will go more in-depth on this subject in a later lesson. For now, the minimum server specifications are
- 2 Core CPU at 2.4 GHz.
- 4GB of Memory
- 50GB of Storage.
This will allow you to have up to 50 extensions with 12 concurrent calls.
An internet connection is required to install VitalPBX fully and with its latest version.
Section 1 – Virtual Machine Installations
Installing VitalPBX in a virtual environment is simple. You will need the following:
- A Virtual Machine capable computer.
- Virtualization Software. This can be VM Ware, Oracle Virtual Box, ProxMox, or any other KVM-based virtualizer.
- VitalPBX’s official ISO image or a Debian minimal installation ISO image.
- An internet connection.
Concerning system specifications, this will depend on the number of concurrent calls you wish to have. Again, we will go through how you can determine this in a later lesson. For now, use the minimum server specifications detailed in the previous section.
The Virtual Machine creation process will vary based on the virtualizer of your choice. In this lesson, we will be using Oracle’s Virtual Box. It is free to use and accessible for most systems. We will cover some special occasions at the end of this section.
First, we will need to download the ISO from VitalPBX’s official website at www.vitalpbx.com.This can be found under the Download section and by scrolling down.
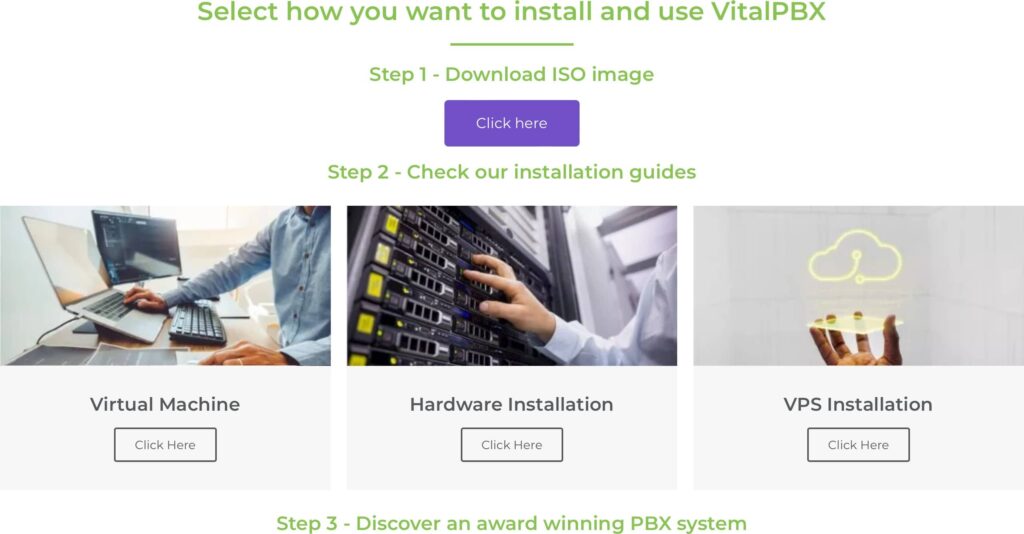
There, you will also find written guides on how to install VitalPBX in different environments.
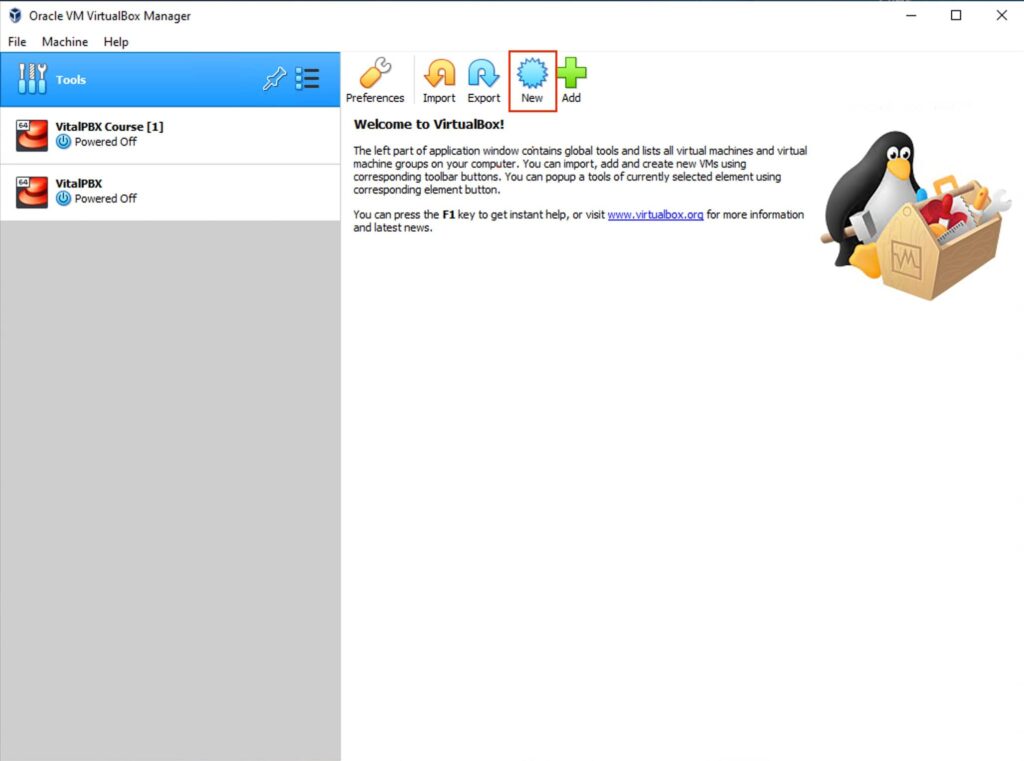
Next, we will create a new virtual machine. For this, we will start Oracle’s Virtual Box. Then, click on the “New” button.
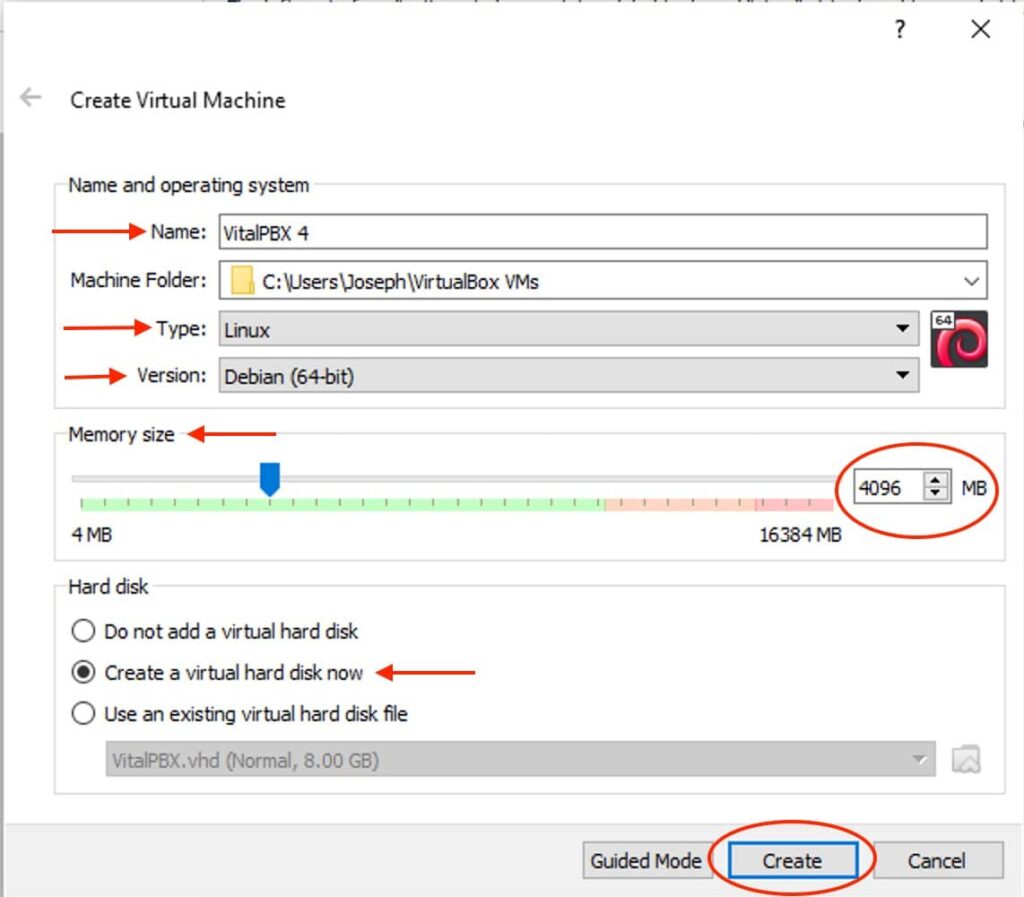
Here, enter a name for your virtual machine. Then, select the type of virtual machine as “Linux” and the version as “Debian 64-bit.” Set the “Memory Size” as 4096 MB. For “Hard Disk,” select “Create a virtual hard disk now.” Afterward, click on “Create.”
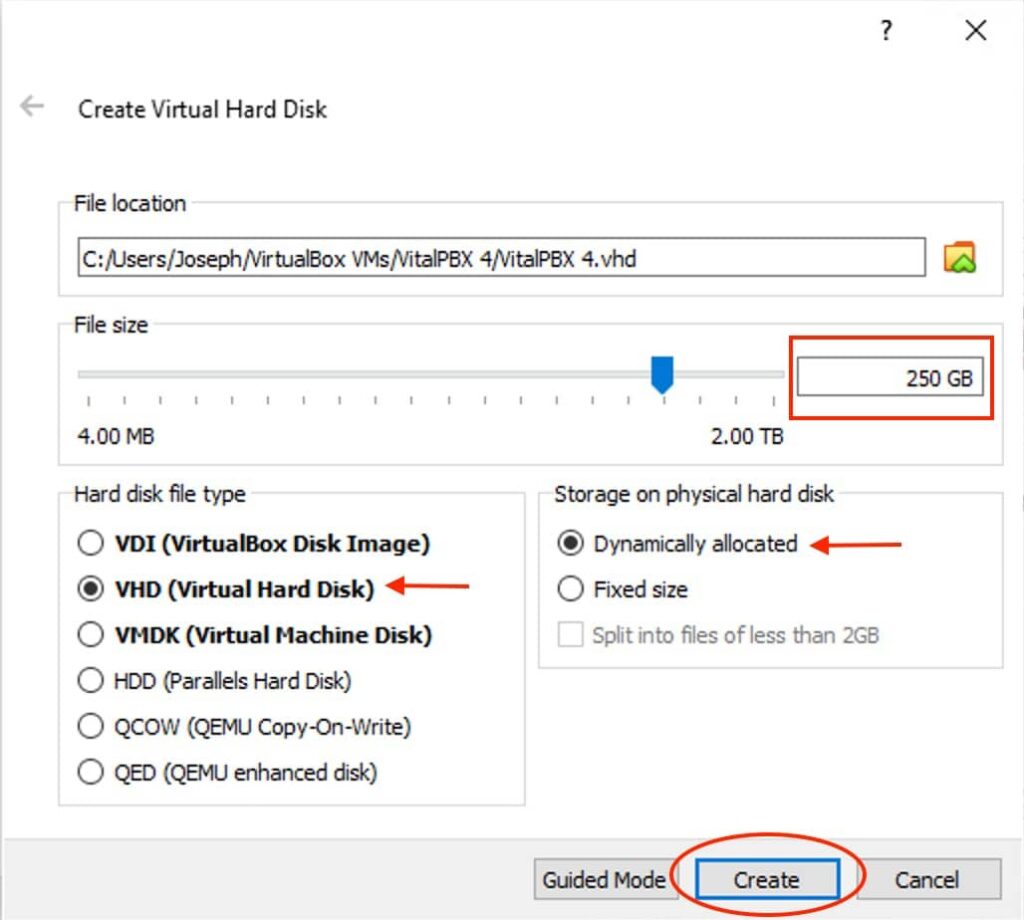
Next, you will be presented with the “Create Virtual Hard Disk” window. Here, enter the “hard disk” size of your choice. For “Hard disk file type,” select “Virtual Hard Disk.” And for “Storage on physical hard disk,” choose “Dynamically allocated.” Finally, click on “Create.” By dynamically allocating the storage, we don’t use the full size we entered immediately.
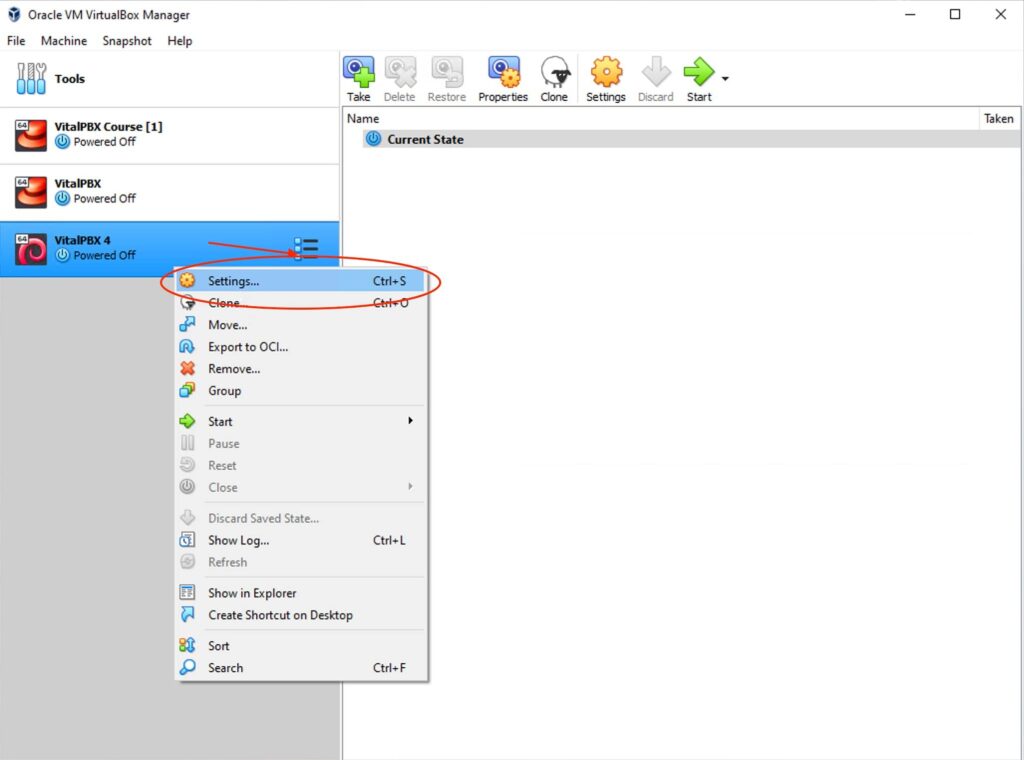
You will now have a virtual machine created. Next, we will need to configure this virtual machine to proceed with the installation. Right-click on the new virtual machine and select settings.
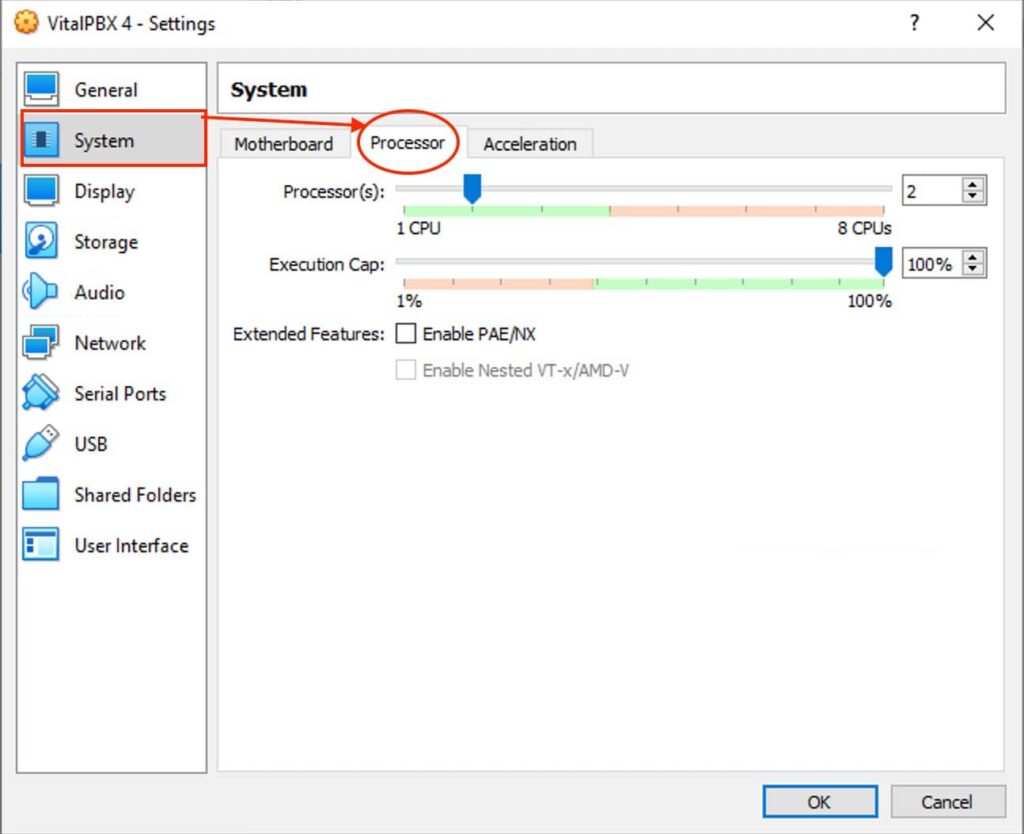
Click on “System” and then on “Processor.” Here, we will set the number of processors to 2. You can choose more “Processors” depending on the number of cores your host machine has.
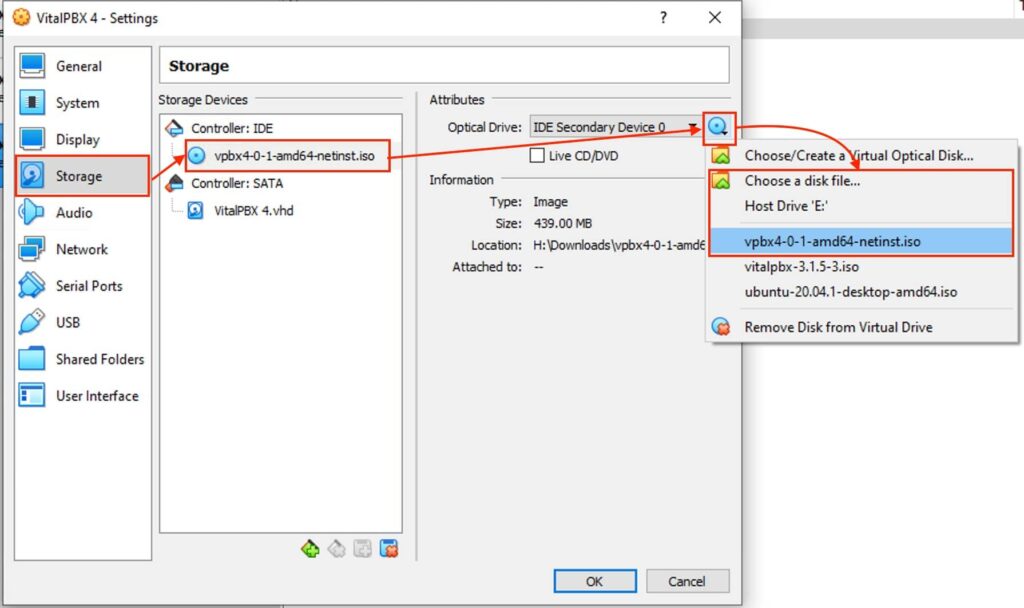
Next, click on “Storage.” Here, click on the empty storage, then the disk icon next to “Optical Drive,” and choose the ISO image we downloaded from VitalPBX’s Website.
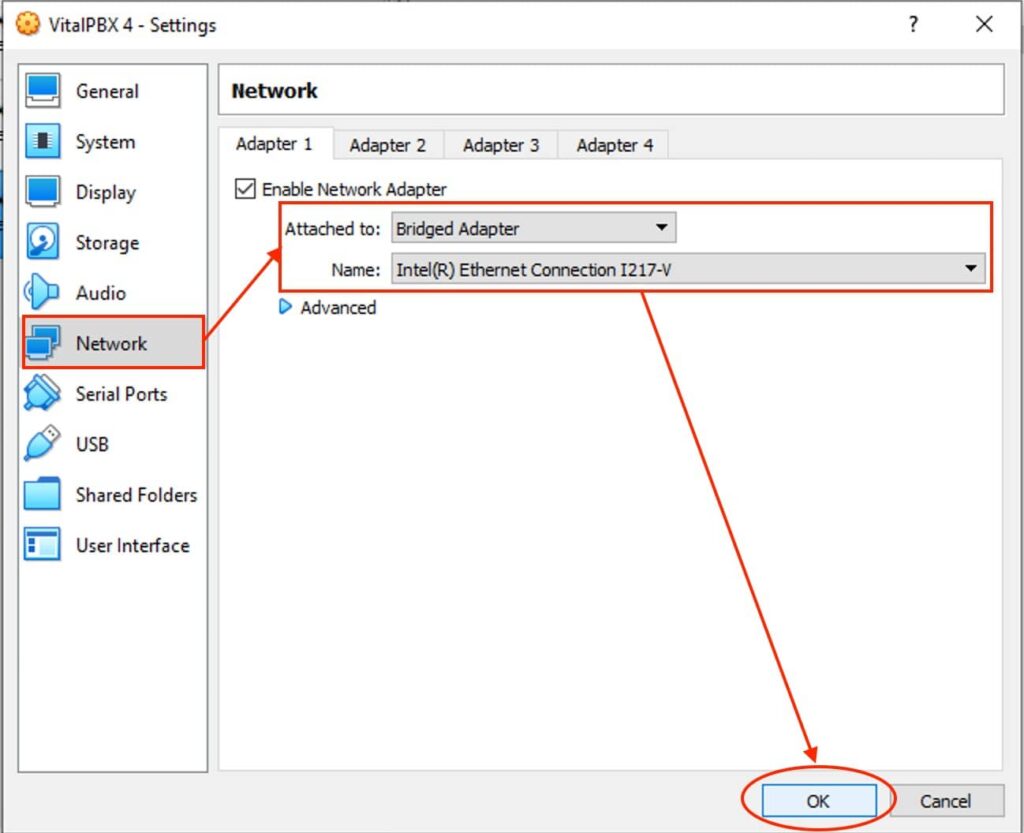
Finally, we will go to “Network” and change “Attached to” to Bridged Adapter. You can then select a network adapter on your host machine. This will allow this virtual machine to connect to your local network. Finally, click on “OK.”
Now that we have set up our virtual machine, we can turn it on. You can double-click on your virtual machine or click on the green arrow button.
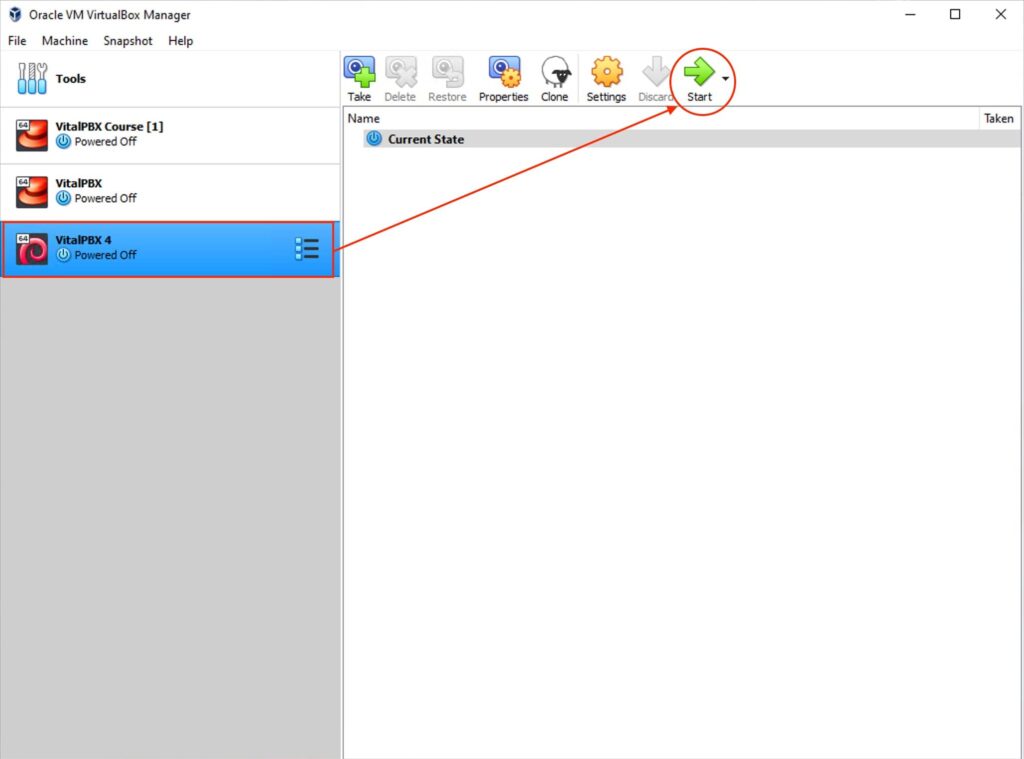
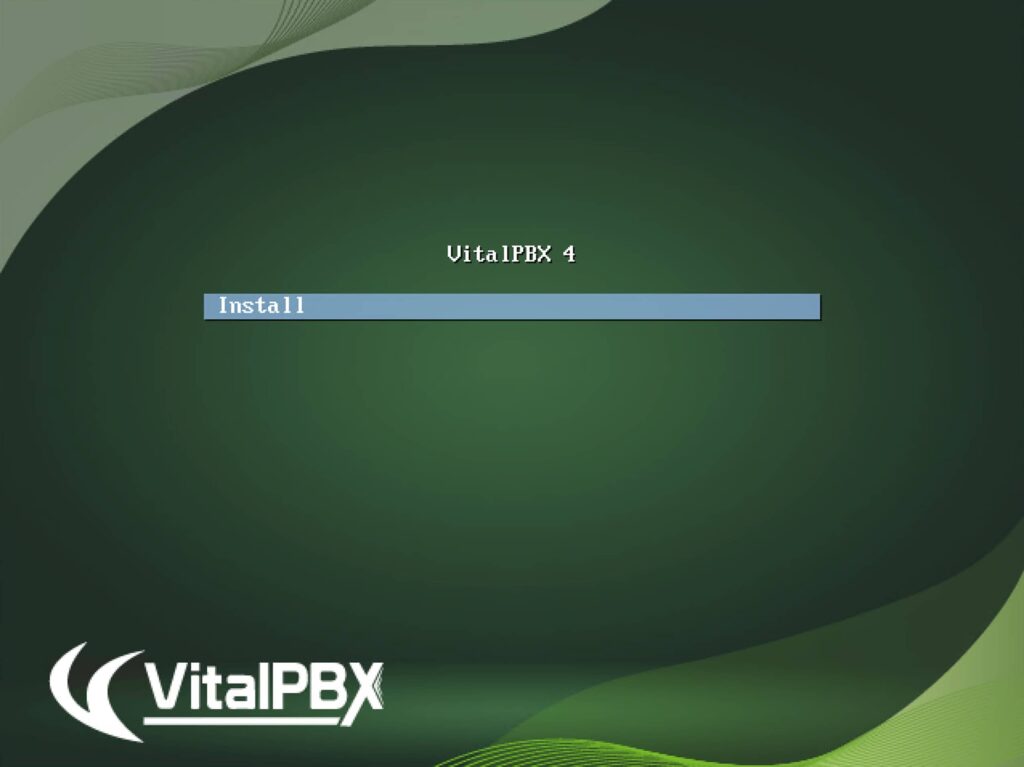
Once you have started the virtual machine, you will be shown the installation process for Debian with VitalPBX pre-selected options. To proceed, press enter. Just be sure you are in the virtual machine by clicking on the window screen.
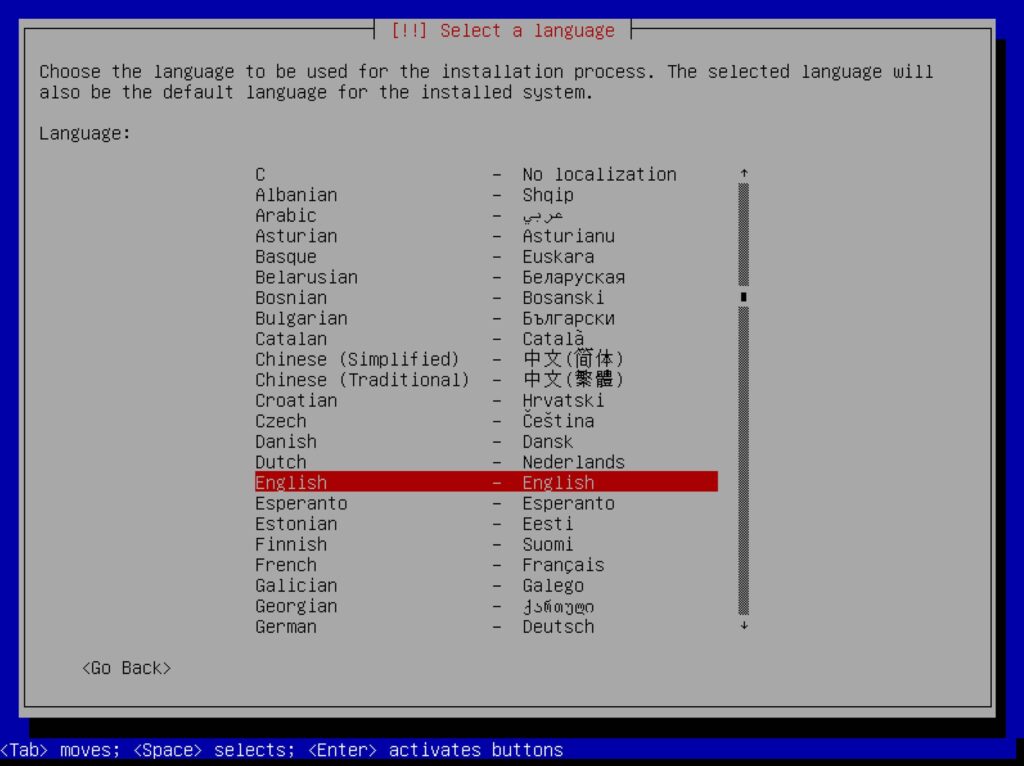
Afterward, select your preferred language. Press enter.
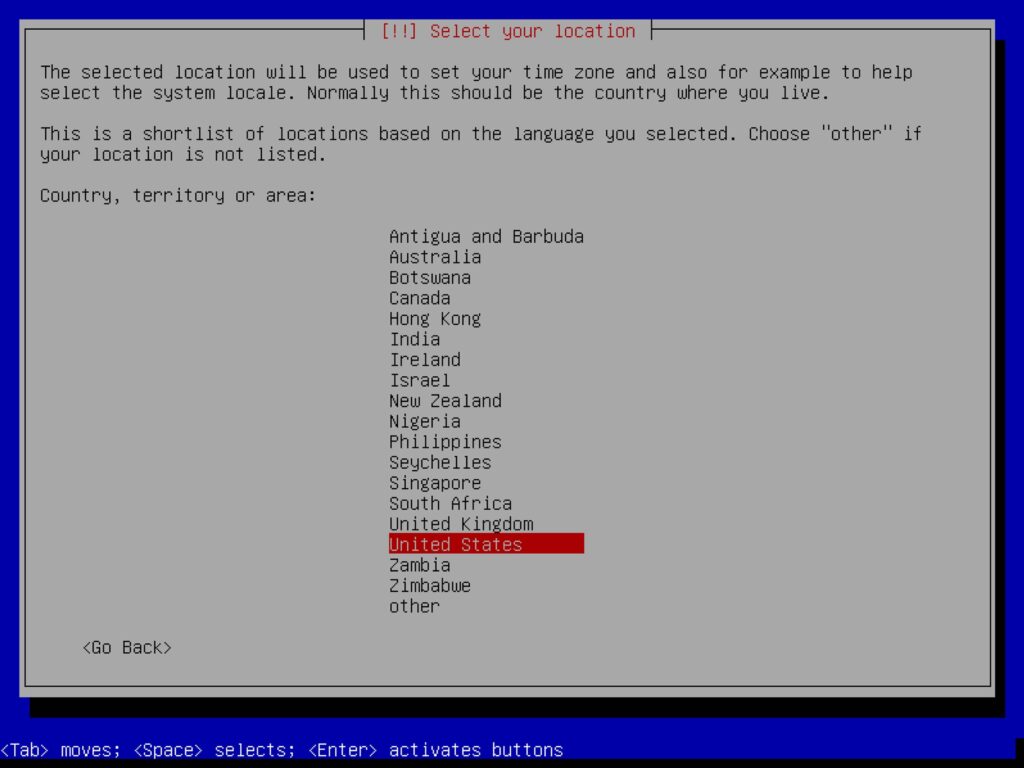
Next, you will need to choose your location. You can use the arrow keys and spacebar to pick. Once you have your location selected, you can press enter.
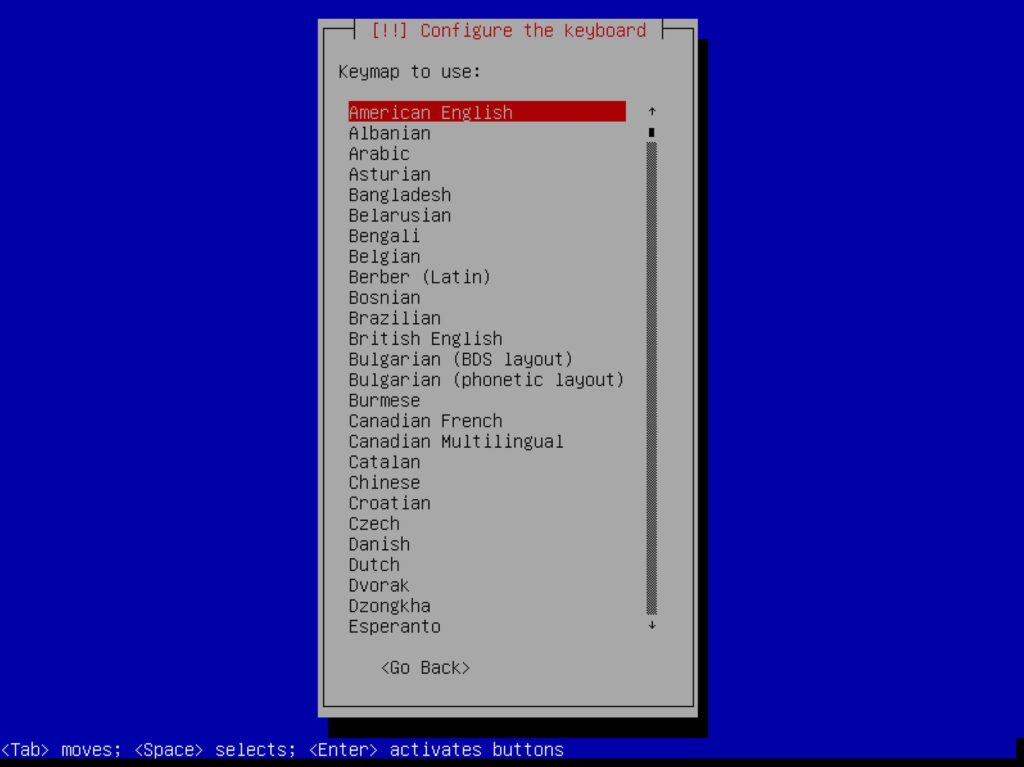
Then, pick your keyboard layout and press enter.
With all these options selected, the installation process will begin.
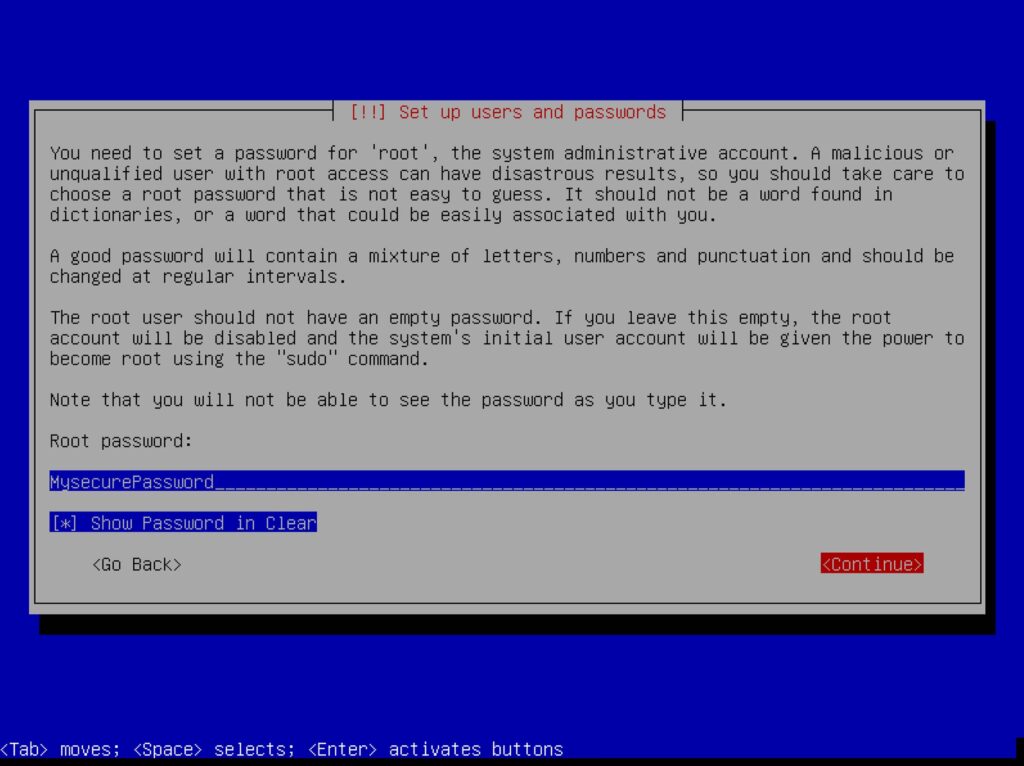
Afterward, you will be prompted to enter your root password. Enter a root password you won’t forget and is difficult to decipher. You can choose to view the password. Moving using the arrow keys to “Show Password in Clear” and pressing the space bar.
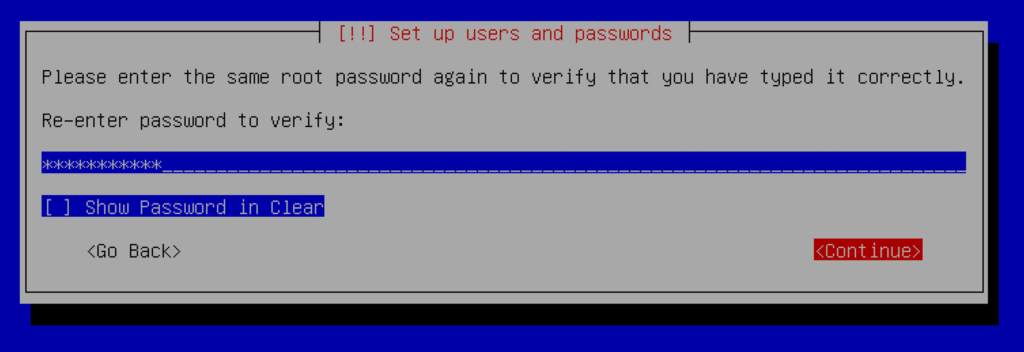
Then, navigate with the arrow keys to “Continue” and press enter. You will then need to re- enter the root password. Afterward, navigate to the “Continue” button and press enter.
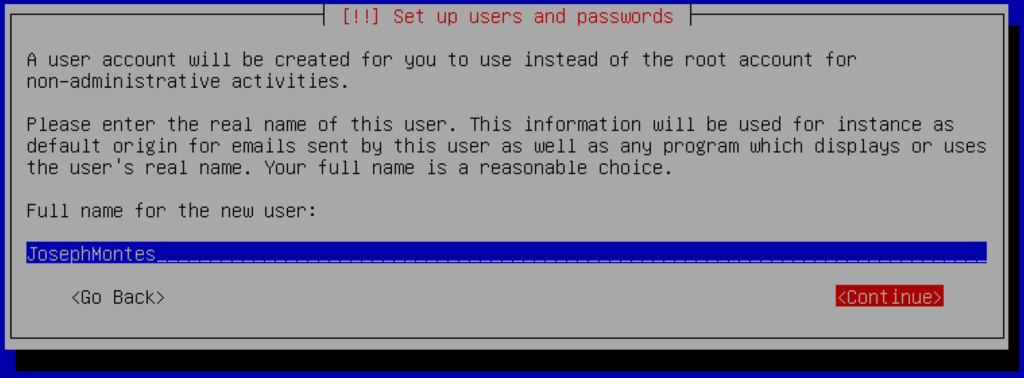
You will then be prompted to enter a name for a new Debian user. Your full name is recommended.
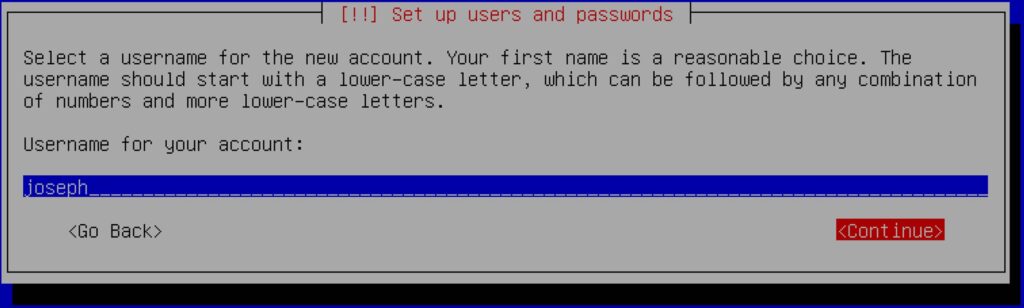
Next, you will be asked to create a username for the new user. We recommend using all lowercase letters and no spaces. Once entered, navigate to the “Continue” button and press enter.
Then, enter a new password for the Debian user. You will then be prompted to re-enter the password. On both screens, navigate to the “Continue” button and hit enter to move forward.
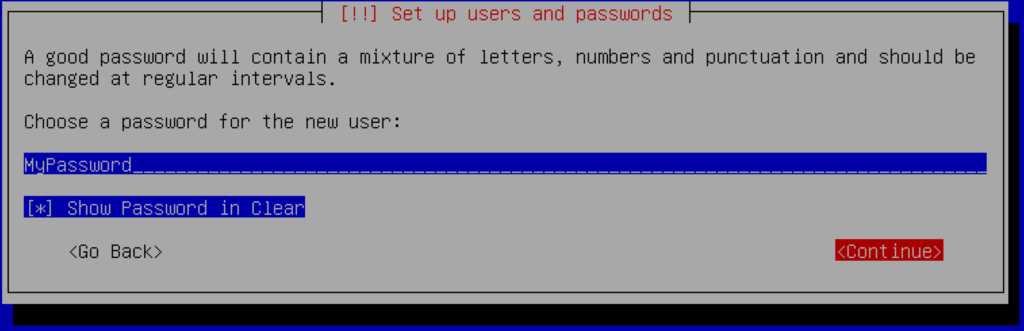
Once again, we recommend you use a strong password that you can remember easily. Preferably, this password is different from the root password.
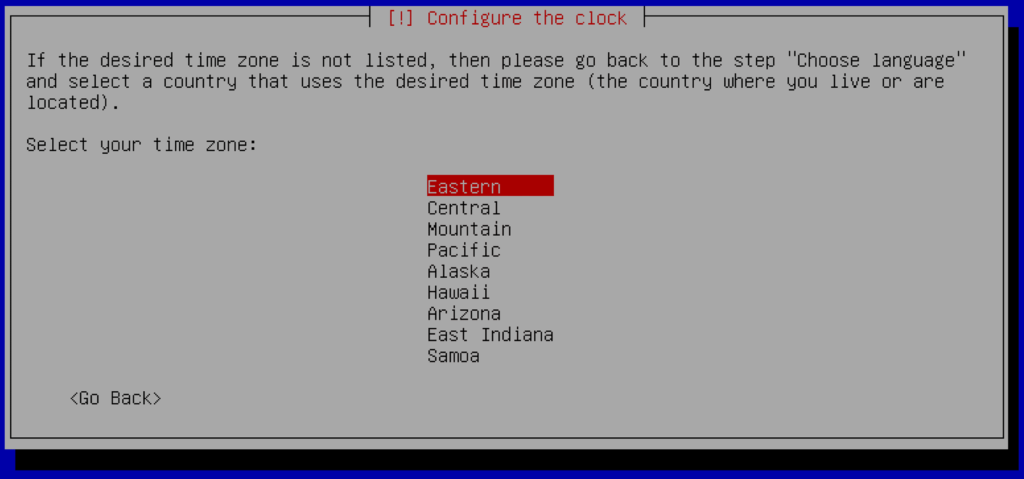
Next, you will be presented with the time zone selection screen. Navigate to your time zone and then press enter.
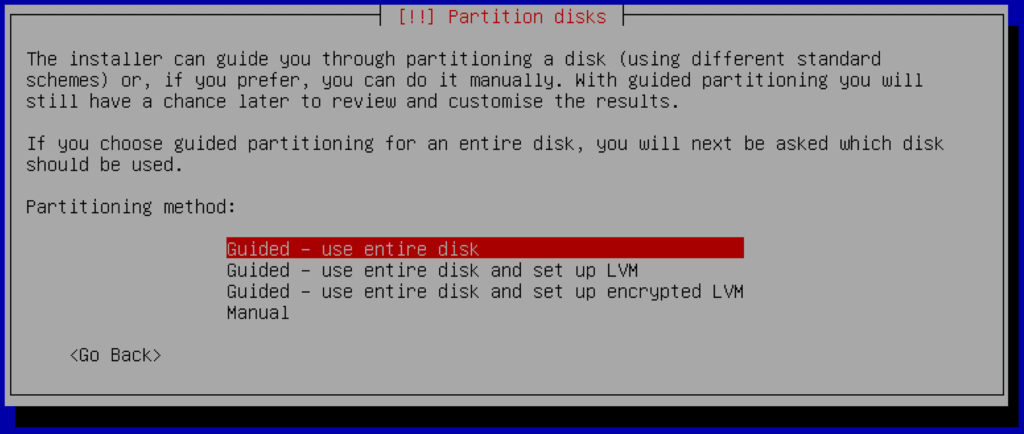
You will then be prompted to partition your disk. Here, we select the “Guided – use entire disk” option.
You will then see your disk partitions. We should only have one in this case. Press enter.

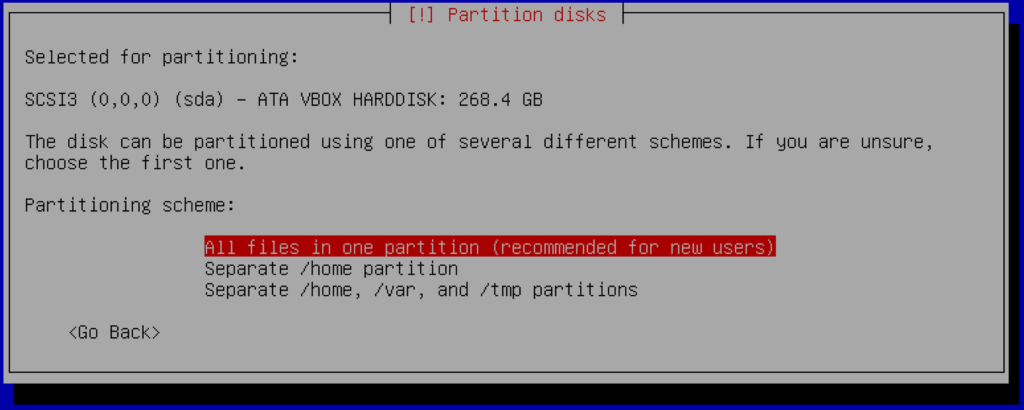
Afterward, you will need to select your partitioning scheme. Here we choose “All files in one partition.” Press enter.
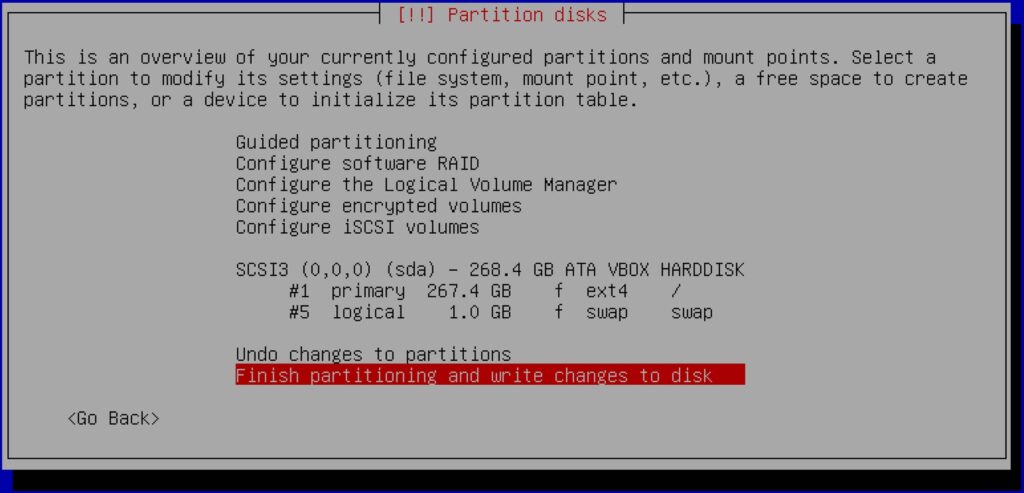
We then verify our screen partitioning, navigate to “Finish partitioning and write changes to disk,” and press enter.
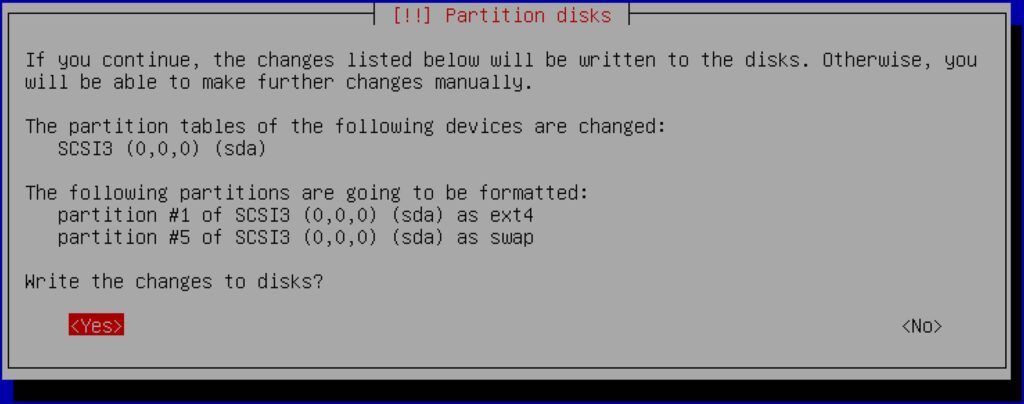
A warning will appear with the changes to occur. Navigate to “Yes” using the arrow keys, and press enter.
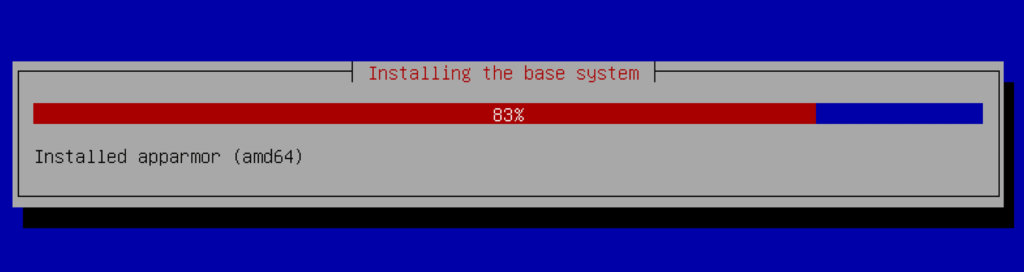
Your disk partitioning will start processing, and the operating system will begin the installation. This process will take a couple of minutes.
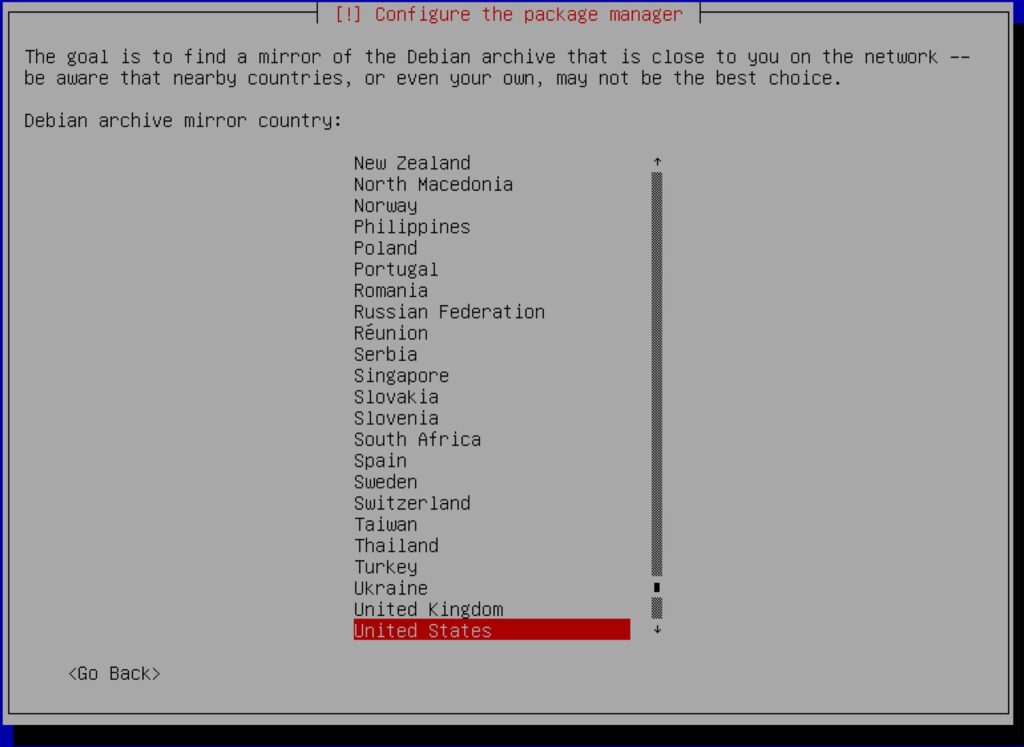
Next, you will need to select your package manager location. This will ensure that you get the closest mirrors to your area. This will assure faster download speeds and reliability. Navigate to your preferred location with the arrow keys and press enter.
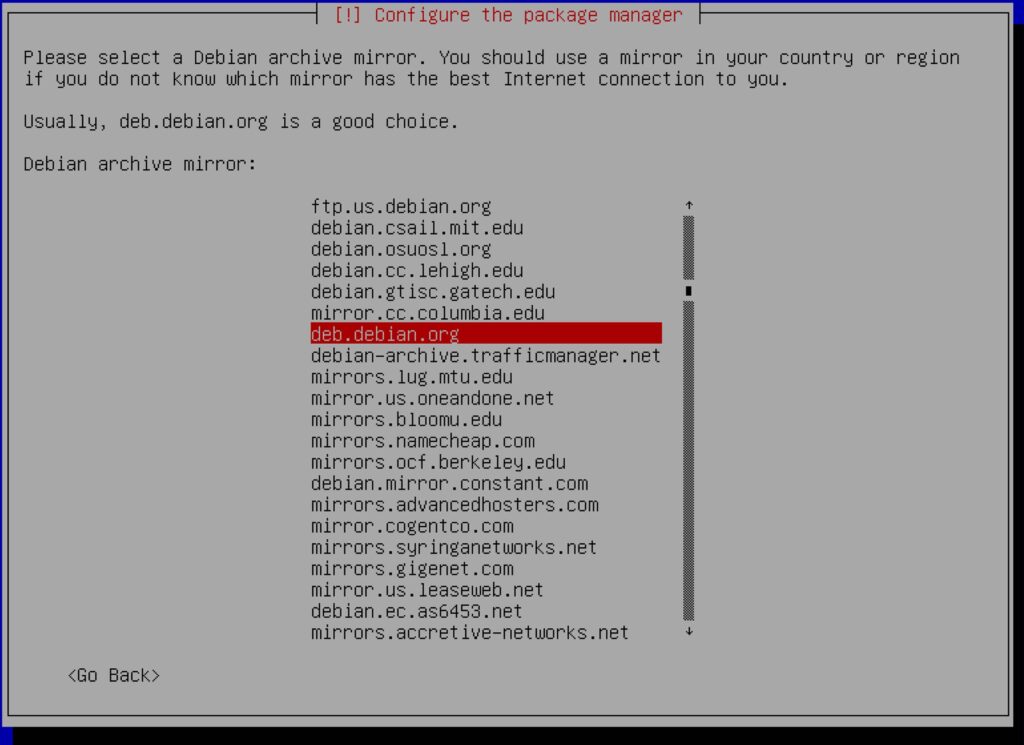
Select your preferred mirror. By default, the selection is deb.debian.org. If you don’t have a preference, you can leave it as default and press enter.
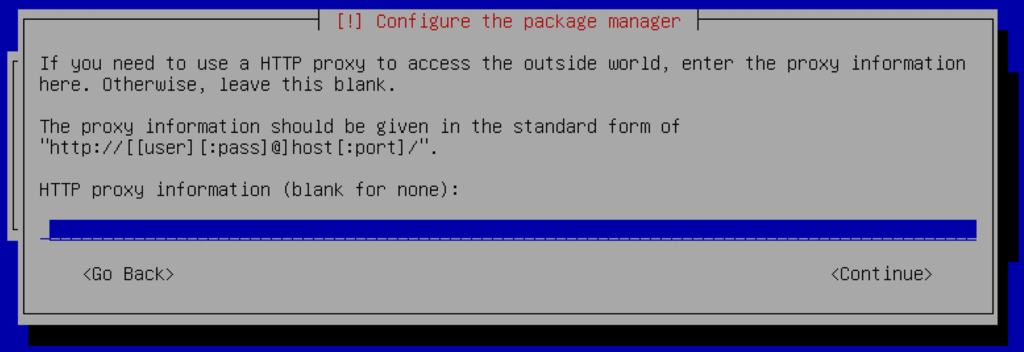
Afterward, you will be prompted to enter an internet proxy. If you don’t use one, you can leave it blank. We navigate to the “Continue” button using the arrow keys and press enter.
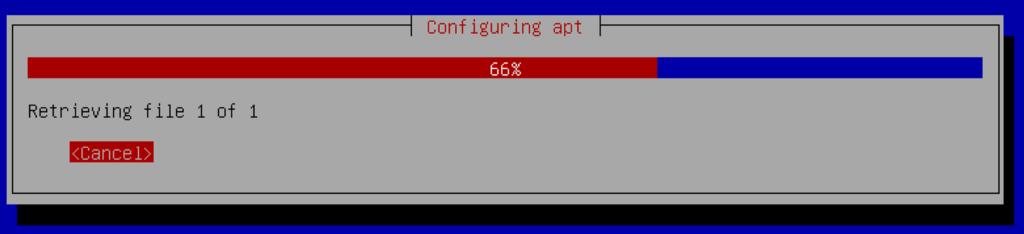
Installation of the operating system will continue.
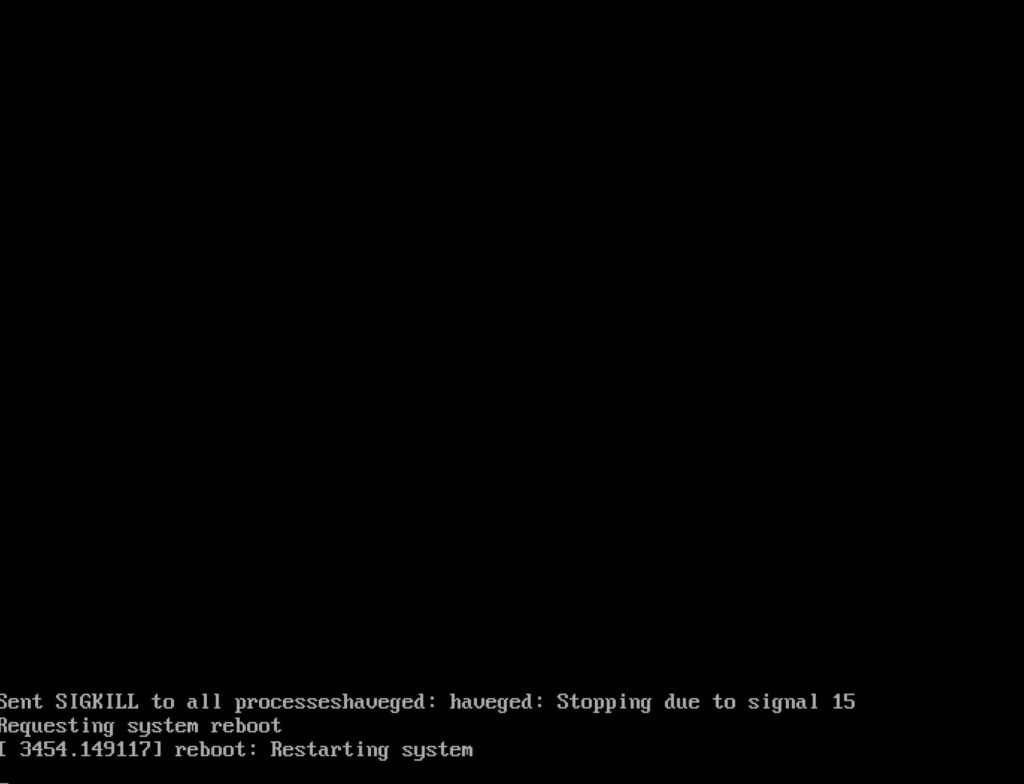
Once the installation is done, your virtual machine will reboot.
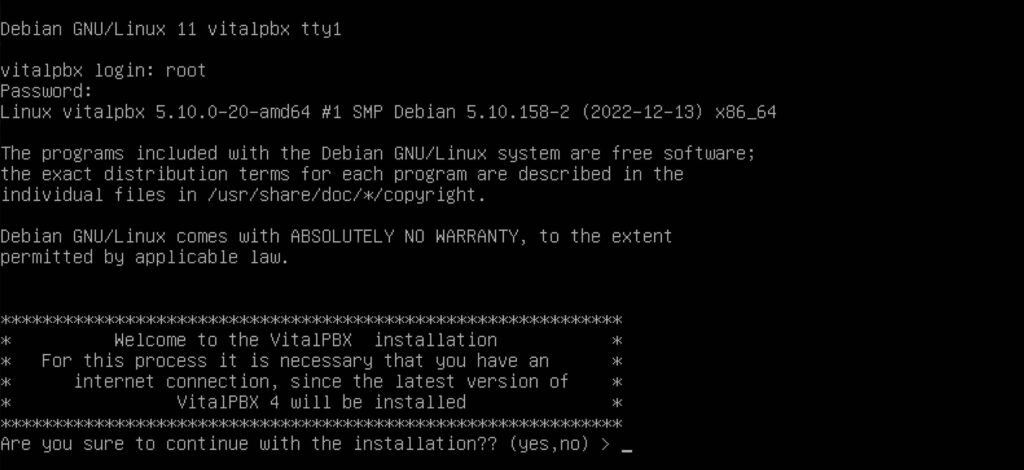
After the virtual machine reboots, you will be prompted to log in. Here, you will log in using the root user and the password you created. Press enter. You will then be prompted to install VitalPBX. Enter yes in the prompt, and press enter.
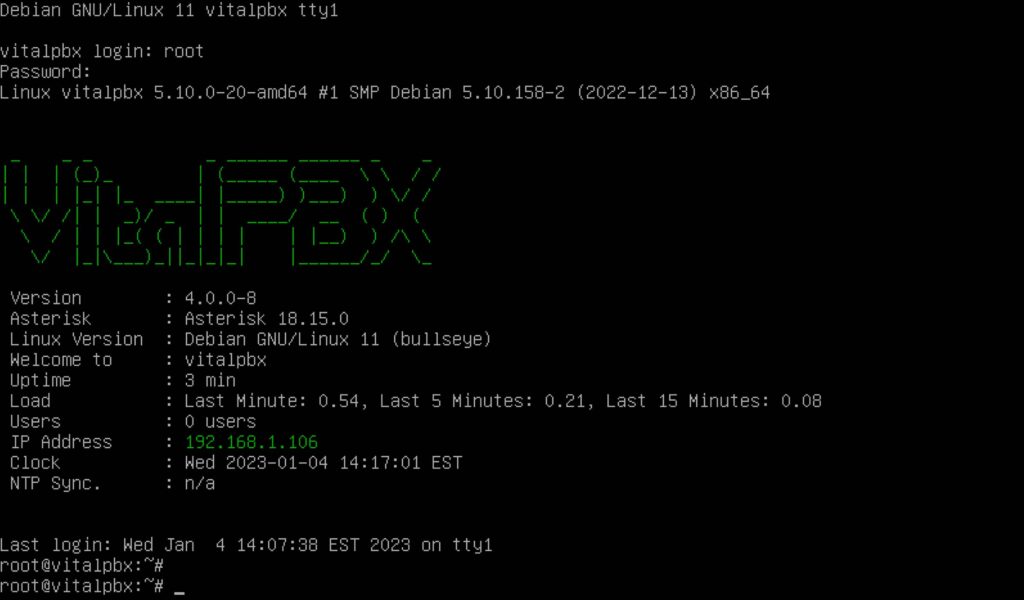
Once the system reboots, you can log in with the root username and password again. After you log in, you will see a nice banner with the VitalPBX Logo and your system information. You can then copy the IP Address and enter it in your web browser.
When you enter the IP Address in your browser, you will be greeted with VitalPBX’s initial login screen. Here, you can enter the admin username and password. By default, the admin user is just “admin,” but you can choose any username of your liking.
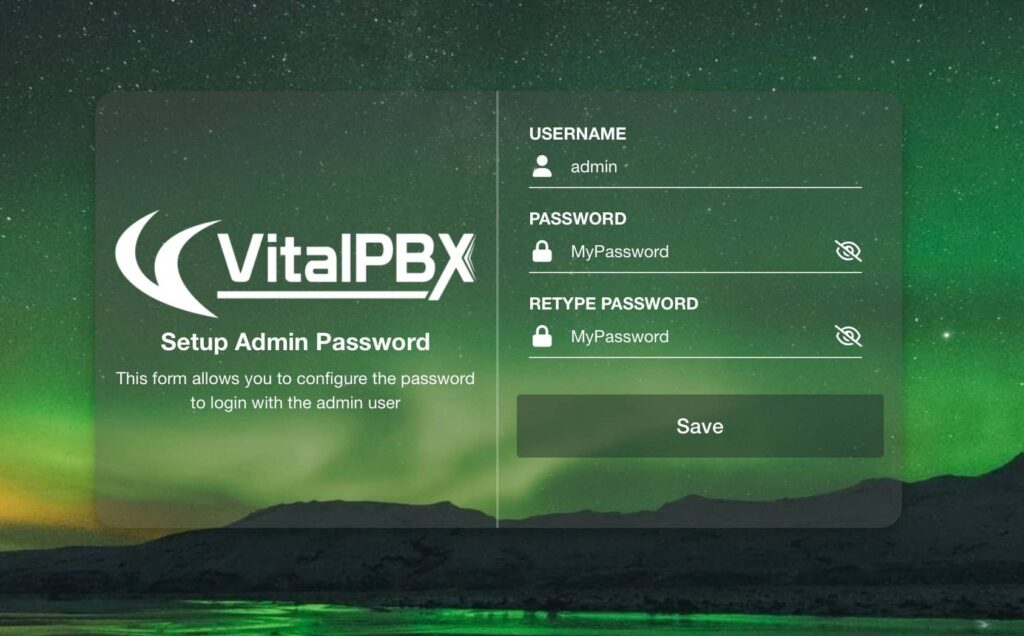
The password you use can differ from the one you used for the root and Debian usernames. This is a separate user from the ones you created during installation. And with that, you have successfully installed VitalPBX. Congratulations!
Section 2 – Dedicated Hardware installation.
The installation process of VitalPBX in dedicated hardware is similar to how you do a virtual machine installation. So, we are not going to redo all of the same steps over again. Here, we’ll only cover the preparation steps of getting you ready to install VitalPBX in dedicated hardware.
When we say dedicated hardware, we mean that we will install the software on a computer or server that will only work as our VitalPBX installation. It is important to note that the computer or server you are installing VitalPBX on needs a dedicated monitor and keyboard to proceed with the installation.
So, the first thing we need is to download the ISO image from VitalPBX’s official website at https://www.vitalpbx.com, just as we did in the previous lesson. This can be found under the Download section and by scrolling down.
There, you will also find written guides on how to install VitalPBX in different environments.
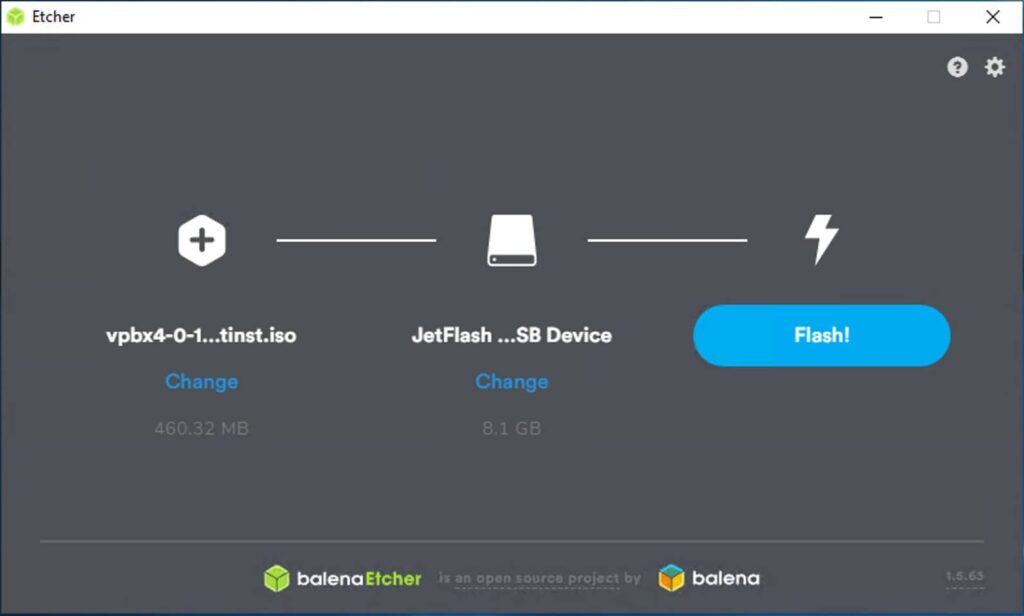
Next, we’ll need to flash the ISO image to a USB flash drive to install VitalPBX on dedicated hardware. To do this, we can download Balena Etcher at https://www.balena.io/etcher/. Balena etcher is a free flash drive flashing tool that works in Windows or macOS.
Once you have installed Balena Etcher and run it, choose the ISO image you have downloaded. Then, select any USB flash drive you have available.
The USB flash drive has to be at least 2GB in storage size.
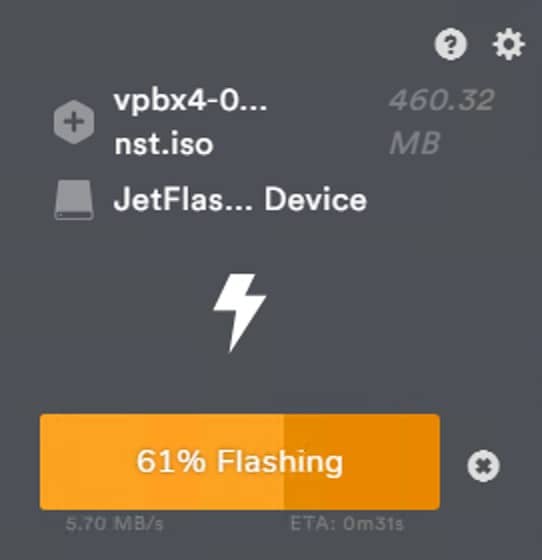
Finally, click on the blue “Flash!” Button. This will start the flashing process, which can take a couple of minutes.
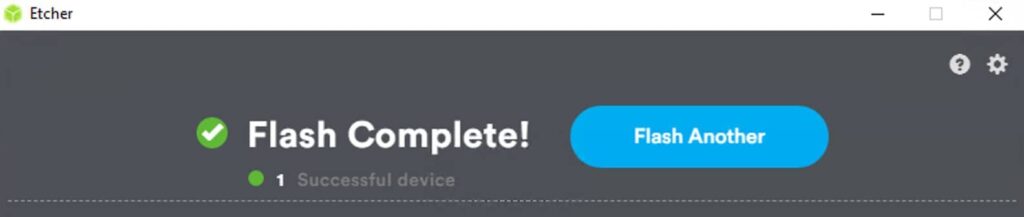
Once it’s done, you can eject the drive safely.
Once you have ejected the USB flash drive securely, you can insert it into a USB port in your dedicated hardware. Proceed to turn on the server and press the boot drive options key while the system starts.
The boot drive option key varies depending on the motherboard manufacturer. Usually, it is the Delete key, F2, F11, or F12.
In the boot drive options, select the USB flash drive you flashed. Reboot your server or computer. The system will boot from the USB flash drive, and you can begin VitalPBX’s installation process. To proceed, press enter.
From here, you can follow the same installation procedure shown in the previous lesson, where we installed VitalPBX in a virtual machine.
Once you have followed these steps, you have successfully installed VitalPBX. Congratulations!
Section 3 – Installing VitalPBX in a Debian Installation. VPS Installation.
The process to install VitalPBX in an existing minimal installation of Debian is simple. It is not necessary for you to have the desktop or Gnome environment for Debian to install VitalPBX.
This will be the same process to install VitalPBX in any VPS service provider like Google Cloud, Digital Ocean, and Vultr, among others. You will need to create a new minimal Debian 64-bit- based system.
Once you have Debian installed, you can run a couple of commands.
You will need to log in as the root user, as root permissions are required to run the script. You can also use the “sudo su” command. If your Debian user is not in the sudoers list, you need to add it to be able to run the “sudo su” command. We will take a look into this later on.
First, download the VitalPBX installation script using the following command.
| wget https://repo.vitalpbx.com/vitalpbx/v4.5/pbx_installer.sh |
Next, we will give the script execution permissions.
| chmod +x pbx_installer.sh |
Finally, we execute the script.
| ./pbx_installer.sh |
Once you execute the script, you will be prompted to enter “yes” to proceed. Enter the word yes in the prompt and press enter.
This will update the system and begin the VitalPBX installation process. In the end, the system will reboot.
Once the system reboots, you can log in again using the root user. You are now greeted with a VitalPBX Logo and system information.
You can copy the IP Address into your web browser and add the admin username and password. This username and password differ from the root username and password or any other user you may have created within Debian.
And with this, you have successfully installed VitalPBX in a Debian-based installation. Congratulations!
Section 4 – Installing VitalPBX on ARM-based systems.
With VitalPBX being based on Debian with version 4, you can now install VitalPBX in an ARM- based environment.
There is no ISO image based on ARM for VitalPBX, so you will need to start with a minimal Debian 64-bit installation. You can download the ARM64 ISO Network Install image from Debian’s website at https://www.debian.org/CD/netinst.
This also means a Raspberry Pi system can be your VitalPBX server. For this, you’ll flash a microSD card with a Debian or Raspberry Pi OS image.
In this lesson, I am installing VitalPBX on an M1-Max MacBook Pro. You can choose any virtualizer like Parallels or UTM. The process is mostly the same.
The installation process is a regular Debian Installation.
Once the system reboots with ARM Debian installed, log in as root and run the following commands.
Then give it execution permissions.
| chmod +x pbx_installer.sh |
Finally, we execute the script.
You will then be prompted to continue with the installation, so enter “yes” in the prompt and press enter.
Section 5 – Troubleshoot Debian Installation.
You might find some questions during your installation, especially if you are unfamiliar with a Debian installation. Here are some tips and recommendations concerning a Debian installation. If you use VitalPBX’s ISO image, these options won’t appear, and default values will be chosen. But, if you make a custom Debian installation or an ARM installation, you might find some additional configuration options during installation.
1. Hostname and Domain Name
In these fields, you can enter any information. For the hostname, if you use an FQDN (Fully Qualified Domain Name), use it here. For example, sip.mydomain.com. In the Domain Name option, you can enter your domain name. Like, mydomain.com.
2. Scanning extra installation media
You may be prompted to “Scan extra installation media” when configuring the package manager. This option can be ignored, and respond “no.”
3. The “wget” command is not available.
You might find yourself getting an error when trying to download the installation script. The error is saying that the “wget” command does not exist. You can download and install the “wget” command with the following.
| apt-get install wget -y |
4. Software Selection.
By the end of the Debian installation, you will be asked which software you wish to include. We recommend you leave the list with everything unselected, as you will install all dependencies with the VitalPBX installation script.
These are the main differences between a custom Debian installation and installing from the VitalPBX ISO image.
Section 6 – Post-Installation Options.
With your VitalPBX installation done, there are some things you can do for ease of configuration.
1. Remote access using the root user.
By default, you cannot remotely access the server using the root user. This can be changed by modifying the “sshd_config” file. First, log in as root directly on the terminal. Then, edit the following file using nano.
| nano /etc/ssh/sshd_config |
Change the line.
| #PermitRootLogin prohibit-password |
With.
| #PermitRootLogIn yes |
Save the document and exit.
Optionally, if you would like to keep the root user from remotely accessing the server, you can add a Debian user to the “sudoers group.” Enter the following command.
| usermod -aG sudo username |
2. Change to a Static IP Address.
By default, your system will pull an IP Address using DHCP. It is recommended that your server uses a static IP Address instead. To change it, we will modify the interfaces file. Run the following command.
| nano /etc/network/interfaces |
Change this block of text.
| #The primary network interface allow-hotplug eth0 iface eth0 inet dchp |
To this.
| #The primary network interface allow-hotplug eth0 iface eth0 inet static address 192.168.1.200 netmask 255.255.255.0 gateway 192.168.1.1 |
Finally, enable the interface and reboot your system.
| ifup eth0 root@debian:~# reboot |
Conclusion
And with this, we have now explored every way to install VitalPBX. This helps you understand the different environments in which to install VitalPBX. Now, you can have your VitalPBX installation done!