Install VitalPBX 4.5 Using Debian
Introduction
Given to the End-of-Life of CentOS 7, and CentOS practically disappearing, the VitalPBX Team decided to migrate to Debian 12. This allows us to have VitalPBX 4.5 be multi-architecture capable and be able to install on ARM or X86 platforms.
There are two ways to install VitalPBX 4.5:
Install VitalPBX 4.5 from the Scripts. You need to have previously installed Debian 12 minimal and you need internet connection.
We recommend the following Blog where it is shown step by step how to install Debian 11 for VitalPBX
https://vitalpbx.com/blog/install-debian-11-step-by-step/
Install VitalPBX 4.5 from ISO, which comes with debian 12 Netinstall and you need internet connection.
Follow the steps below from the Debian 12 console. You must connect with root user (recommended).
Install from Script
Some Debian Minimal installations do not have sudo installed, so before running the script we recommend installing it.
apt install sudo
Download Installation Script
Give it execute permissions
wget https://repo.vitalpbx.com/vitalpbx/v4.5/pbx_installer.sh
chmod +x pbx_installer.sh
Run the Script
./pbx_installer.sh
We wait about 15 minutes for the server to restart and then we enter the IP through our favorite Explorer (we recommend Chrome) and it will ask us to enter the admin password for the first time.
Install from ISO
Install VitalPBX 4.5 from ISO, which comes with debian 12 Netinstall and you need internet connection.
To install VitalPBX 4.5 from an ISO we offer a couple of alternatives:
- Download the net-install ISO from the Debian website: https://www.debian.org/distrib/netinst
- Download a custom Debian ISO from the VitalPBX website, that includes pre-configured features that will ease our installation.
In this article, we will explain how to install from the ISO that the VitalPBX team has prepared for our users.
Debian Installation
First, we will proceed to download the ISO from the VitalPBX website, you can click on the following link, https://repo.vitalpbx.com/vitalpbx/v4.5/isos/vpbx4-5-2-amd64-netinst.iso.
Now, if you are installing on dedicated hardware, you must flash a USB flash drive or load the ISO into a virtualizer if you are using a Virtual Machine.
In the case you are installing on dedicated hardware, we recommend the Balena Etcher application to flash your USB flash drive, https://www.balena.io/etcher/.
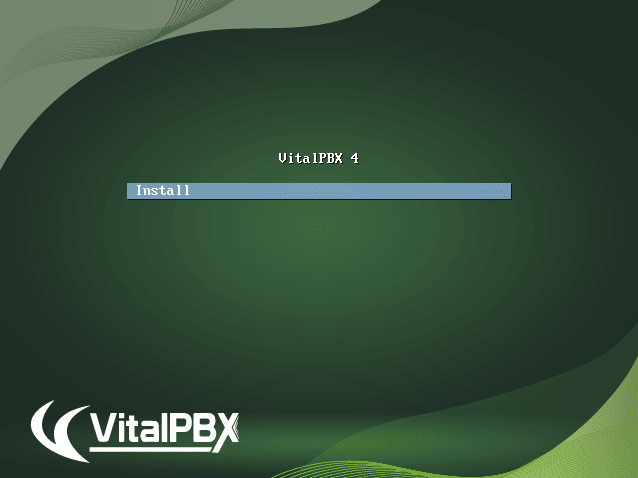
When you first boot into the ISO image, you will be greeted by a menu that allows you to choose the installation type. We recommend the non-graphic install since it is faster, and does not require a mouse.
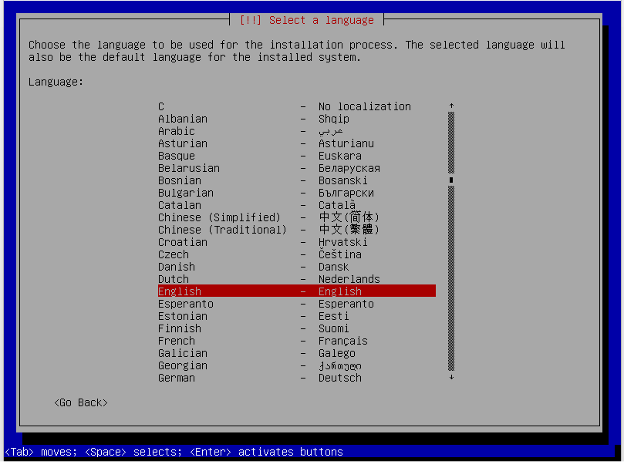
Now, we select our installation language.
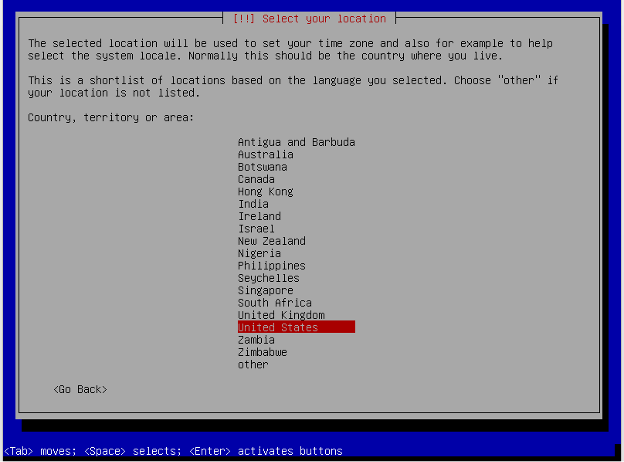
Afterward, we will select our country. This option is important since we are going to be asked for our Time Zone later, based on this location.
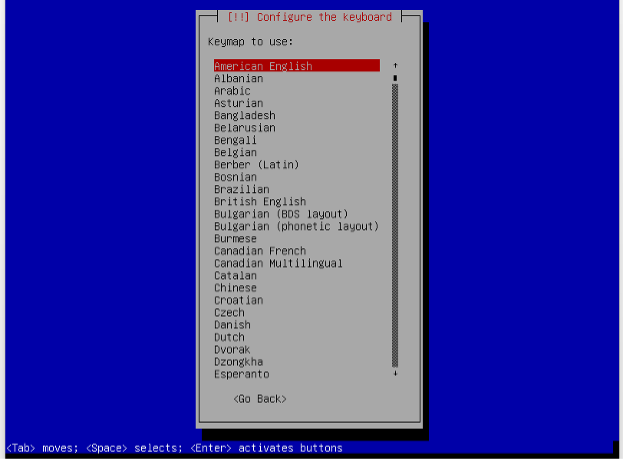
Next, we select our keyboard type.
Then, we enter the root password twice. We must choose a complex password to stop intruders.
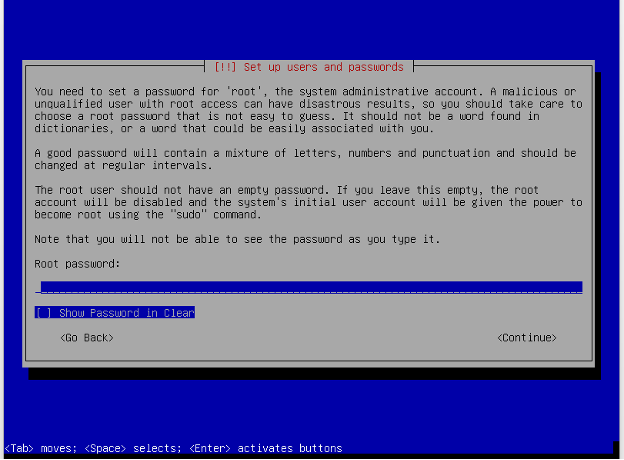
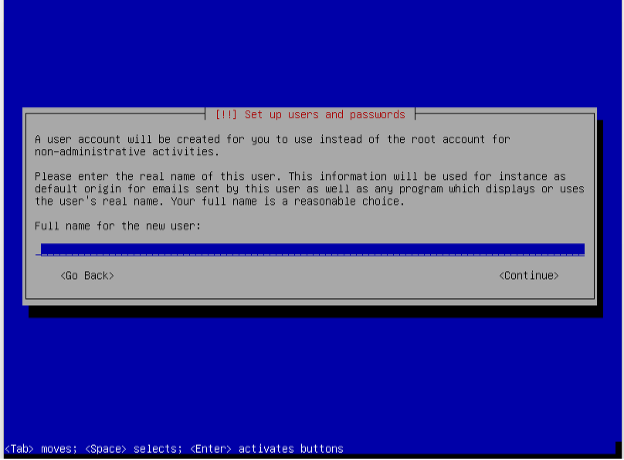
Now, it will ask us to create a new user. We will need to enter the user’s full name, username, and password twice. This user can be used as an alternate SSH user. This is an obligatory step.
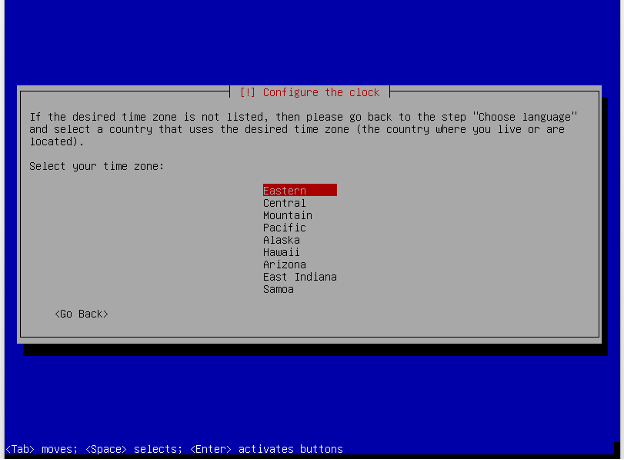
Now, we must select our Time Zone.
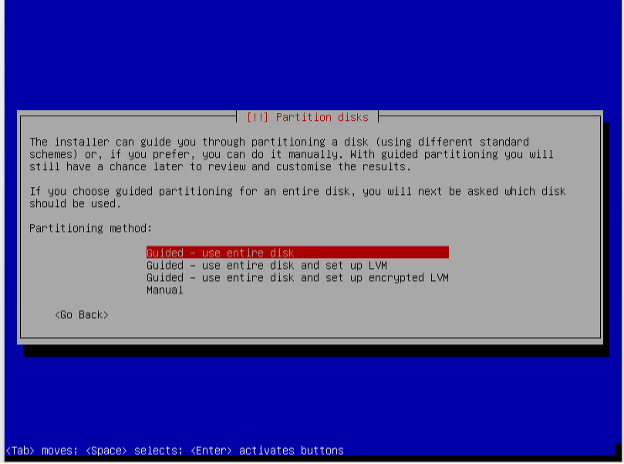
Next, we are asked for the storage partitions, for which, we will leave everything in default.
We use the entire disk.
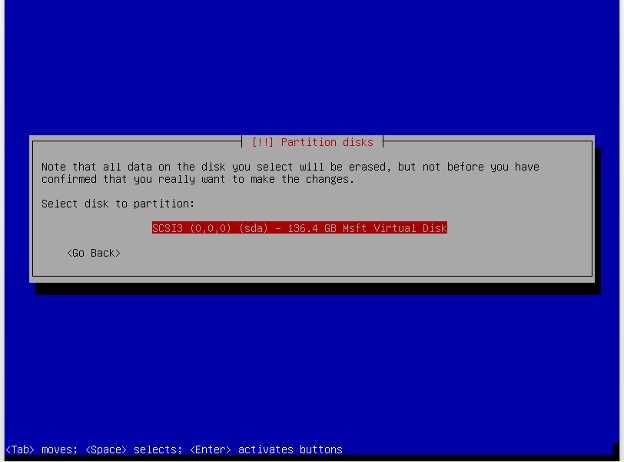
Select the storage unit you wish to use. In our case, since it is a virtual disk, it will appear as follows. This value may vary depending on each installation.
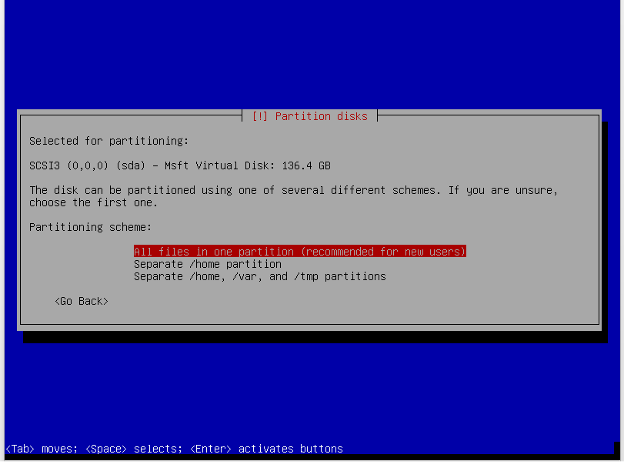
Now, we select, “All files in one partition…”
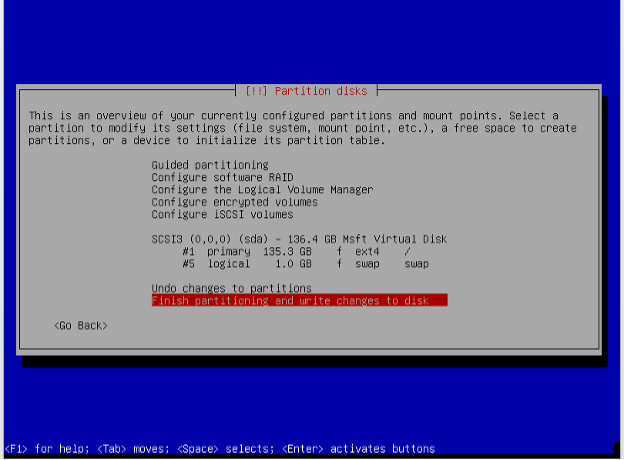
We will then confirm our selections and choose, “Finish partitioning and write changes to disk.”
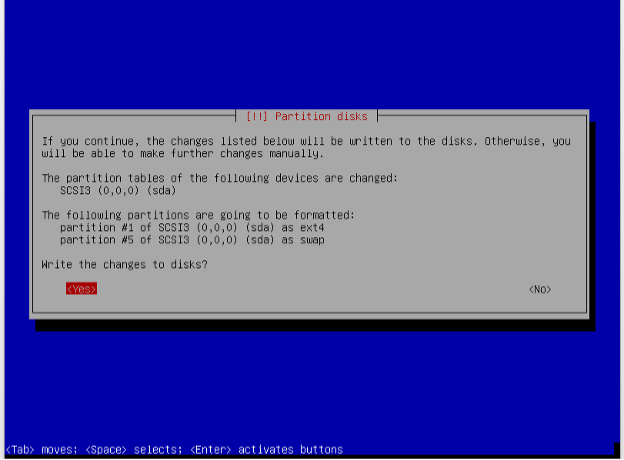
Lastly, we confirm once again, write the changes, and the installation will proceed.
Before the installation can finish, we are asked for our preferred archive mirror country and server. This is where our Debian installation will retrieve the installation packages.
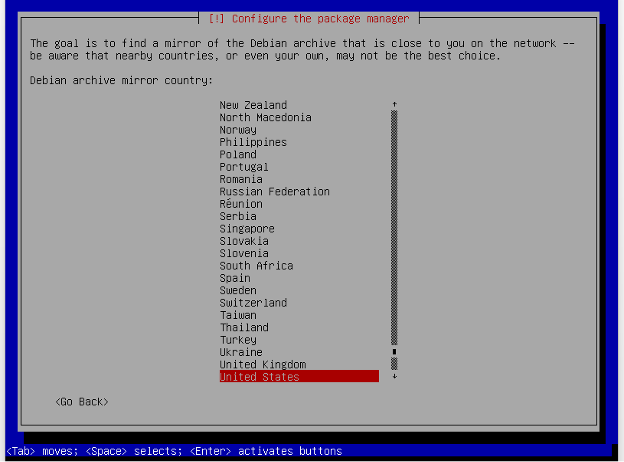
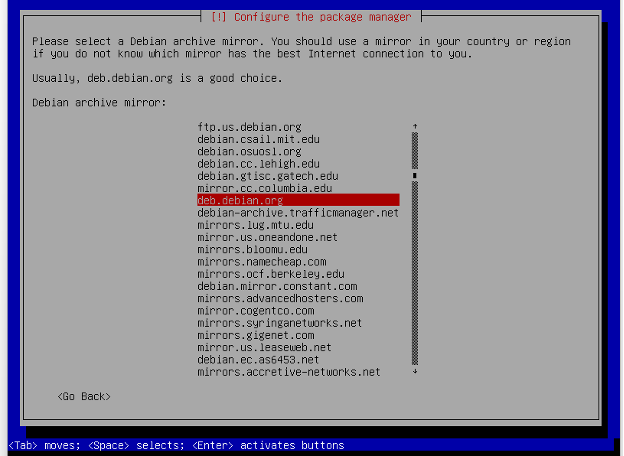
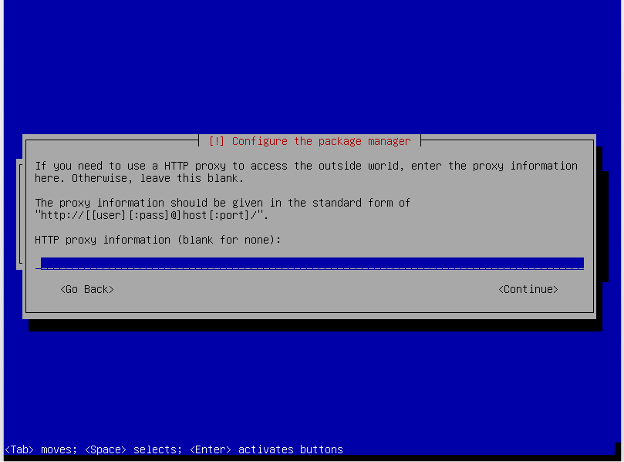
And finally, we are asked to enter our Proxy Server, in case we need one to connect to the internet. In most cases, this can be left blank.
When the installation is finished, you must enter the console with the root user and the password that I configured. Once the credentials are accepted, you will be asked the following:
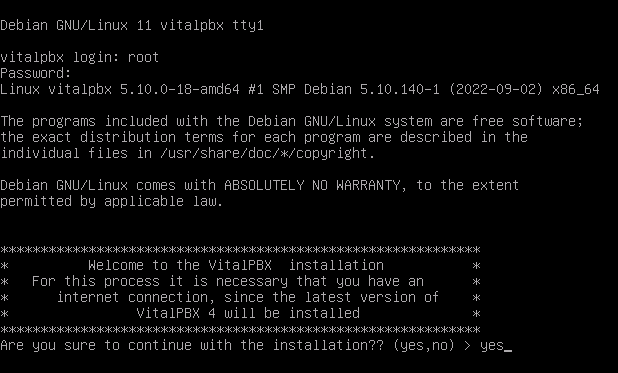
You must type yes to continue with the last process of the installation. This last process will last from 10 to 15 minutes and depends on the speed of your internet as well as the characteristics of the server.
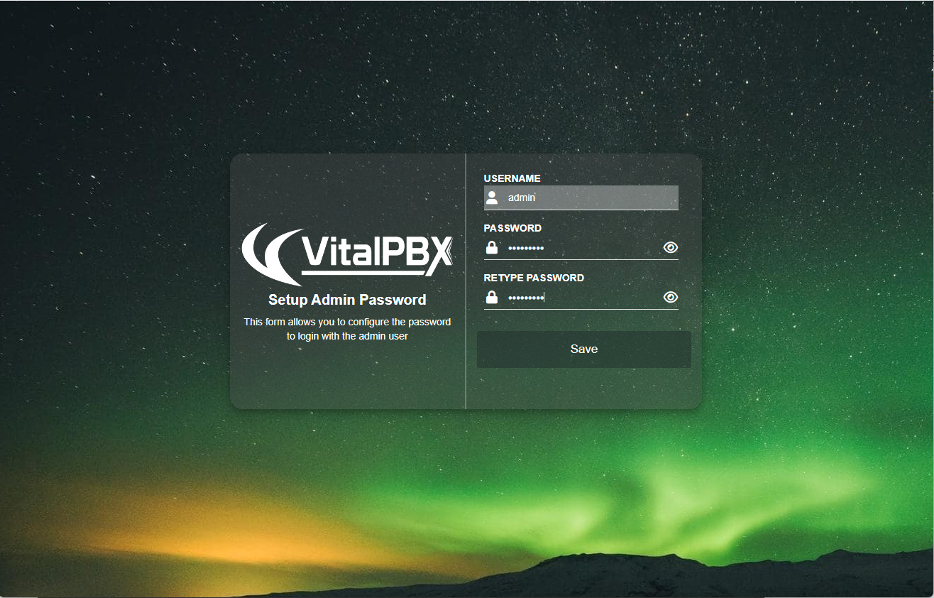
Then we enter the IP through our favorite Explorer (we recommend Chrome) and it will ask us to enter the admin password for the first time.
Post-Install Recommendations
Remote access with the root user.
As a security measure, the root user is not allowed to remote access the server. If you wish to unblock it, remember to set a complex password, and perform the following steps.
- Enter the Command Line Console with the root user directly on your server with the password you set up earlier.
- Edit the following file using nano, /etc/ssh/sshd_config.
Change the following line
nano /etc/ssh/sshd_config
#PermitRootLogin prohibit-password
with
PermitRootLogIn yes
Save and Exit
- Lastly, restart the sshd service.
systemctl restart sshd
Additionally, you can keep the root user from having SSH access permission and use the additional user you create to access your server remotely. You will simply need to use the command “sudo su” and enter the user’s password to get root privileges. In this case, make sure that the additional user is part of the “sudoers group.” To do so, you can simply run the following command as root from the Command Line Console directly on your server:
usermod -aG sudo username
Changing your IP Address to a static address
By default, our system’s IP address in Debian is obtained through DHCP, however, you can modify it and assign it a static IP address using the following steps:
- Edit the following file with nano, /etc/network/interfaces.
nano /etc/network/interfaces
Change
					#The primary network interface
allow-hotplug eth0
iface eth0 inet dchp
With the following.
					#The primary network interface
allow-hotplug eth0
iface eth0 inet static
address 192.168.1.200
netmask 255.255.255.0
gateway 192.168.1.1
Save and Exit
- Enable the interface.
					ifup eth0
reboot
VitalPBX Installation
Once the Debian installation is finished, we will proceed to enter the Command Line Console using the root user and the password we created earlier.
Run the following command and wait a couple of minutes as VitalPBX Finishes its installation:
install_vpbx4
You will see the CLI as follows.
					login as: root
root@192.168.1.200's password:
Linux vitalpbx 5.10.0-14-amd64 #1 SMP Debian 5.10.113-1 (2022-04-29) x86_64

The programs included with the Debian GNU/Linux system are free software;
the exact distribution terms for each program are described in the
individual files in /usr/share/doc/*/copyright.

Debian GNU/Linux comes with ABSOLUTELY NO WARRANTY, to the extent
permitted by applicable law.
Last login: Sat Jun  4 08:06:08 2022 from 192.168.11.250
root@vitalpbx:~# install_vpbx4
Access
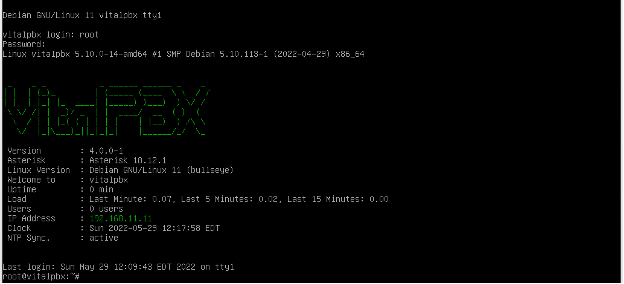
Now, we access the CLI once again, and we will be shown the IP address with which we can access it through a browser.
When entering for the first time through our browser, we will be asked for the admin password, so we create one.
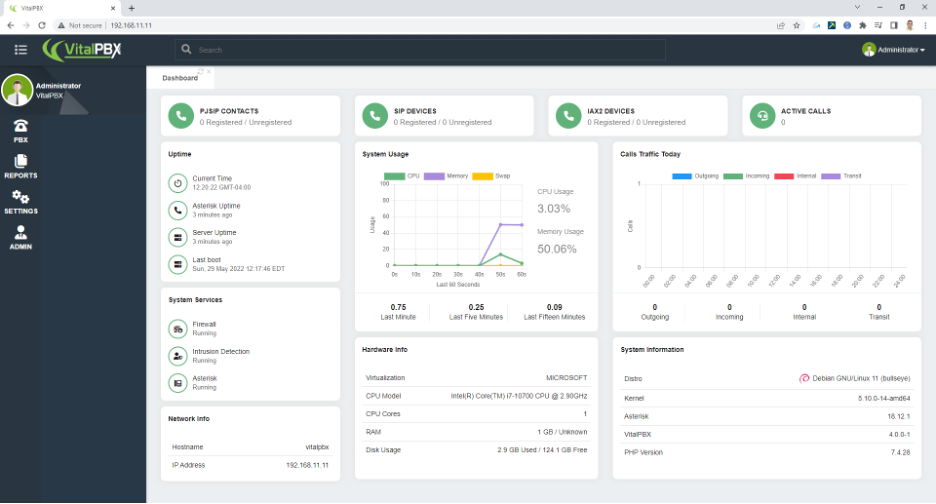
With this new way to install from an ISO, we can guarantee that you will always install the latest version and most stable version of VitalPBX. Since the installation packages from VitalPBX are obtained directly from our servers.

