Necessary Resources To Create a Chatbot
- Meta Developer Account (https://developers.facebook.com/).
- ChatGPT Account (https://platform.openai.com/apps).
- Hosting to have a valid domain (FQDN) with certificate.
- Install git (https://git-scm.com/downloads).
- Have a GitHub account, to keep control of source code (https://desktop.github.com/)
- Install Visual Studio Code (https://code.visualstudio.com/download)
- Add the following extensions in Visual Studio Code:
- Color Highlight
- Community Material Theme
- Material Icon Theme
- Material Them Icons
- Install Postman to test the API (https://www.postman.com/downloads/).
Create Project in Meta
Next, we will show how to create a new project in Meta to be able to use the WhatsApp API. For which we enter our Meta Developer account and go to the My Apps section (Upper right corner).
We press Create App
• Select an app type, we select Business and press Next.

App name and contact information
- Add an app name, we write the name of our app
- App contact email, We leave the contact email like this, unless we want any issue about this app to be sent to another email.
- Business Account, we leave it as is, this parameter is optional.

Pressing the Create app button will ask us for the password of our Facebook user.
Now we proceed to add the product that we want to associate with the app, we select of course WhatsApp.

We press Set up and then it will ask us to select a Business Account, in our case it is called Ring2All:

And we press Continue and it will show us the following page.

Now we press Start using the API and it will show us the following page with our temporary Token and our temporary number. Later we will show how to create a permanent Token.
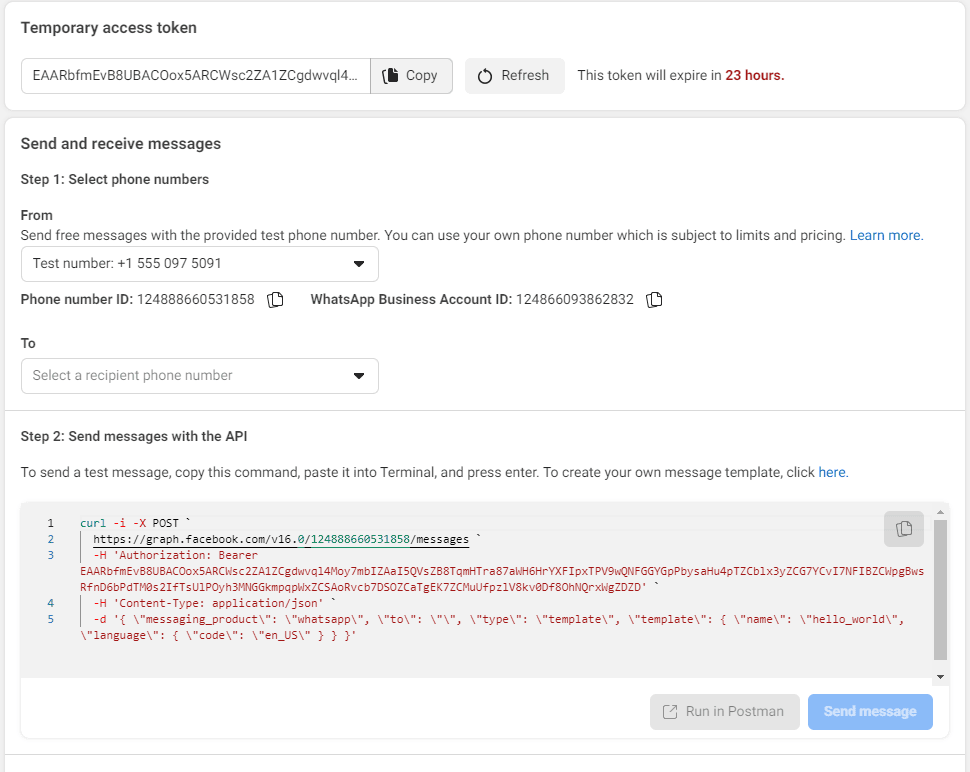
To do a test we must add a destination WhatsApp number, for which in the box that says To press Manage put number list and then press Add put number:

We select the country and then write the number. At the moment we add it, it will ask us about a confirmation code that is sent to the number to allow it to be added. Once added, we already have a number to test sending messages.
Add phone from where messages will be sent
If we want to add our own phone number from which we are going to send messages in the WhatsApp/Getting starter menu section.

Now we press Next, and we will be asked the number to use.

We select the country code, write the number and select Text message. When pressing Next we will be asked for a code sent to this number to confirm that we are the owners of this.
Add a permanent token
To add a permanent Token follow the next steps, we go to My Apps and it will show us the following information.

Now we press where it says Business: Ring2All (in my case, in your case it will be a different name).
On the next screen, the Users/System users’ option will appear. We add an administrator user, pressing the Add button.

System username, we select a user that in my case is called Admin Global.
System User Role, we select Admin.
Finally press Create System User.
Then the following screen will be displayed, already with our user created.

Now we are going to add the assets (Assets) that this user will have access to, for which we press the Add Assets button.

We select the assets that we want to manage and activate the Full control option as shown in the image.
Now we will see that the asset is added to our profile.

Now we go to Generate New Token and select the App and the Permanent option and at the bottom we select the following options:
- whatsapp_business_messaging
- whatsapp_business_management
And we press Generate Token

Finally, we press Generate Token and copy the Token.

Important note:
This token can only be viewed at this time, it is not possible to view it later, so please copy it to a safe place to use in your application.
Create ChatGPT/OpenAI Token
Enter our OpenAI account and go to:
https://platform.openai.com/apps
Then in the upper right side go to our account.

Select View API keys.
Press the API option and in the menu on the left select API keys.

And we proceed to create a new API key by pressing + Create new secret key.

We select a suitable name to remember and press the Create secret key button.

We copy the secret key since we will not be able to see it again. We will use this later.

Project in PHP to make a Chatbot integrating WhatsApp and ChatGPT
After having the two Tokens we proceed to create our project using Visual Studio Code. We download the complete code in:
https://github.com/VitalPBX/chatbot-whatsApp-ChatGPT-with-PHP
Project Files
- sql, database where the Chatbot information is stored, for example if a word is received, which must be answered.
- sql, database where the Chatbot information is stored, for example if a word is received, which must be answered. This database has information.
- php, global settings such as database connection details, WhatsApp tokens, and ChatGTP.
- php, database query functions.
- php, code that is responsible for handling all requests from WhatsApp.
- Chatbot_WhatsApp-ChatGPT-Api_With_PHP, the name of this file, where it is explained step by step how to implement this project.
Test Result
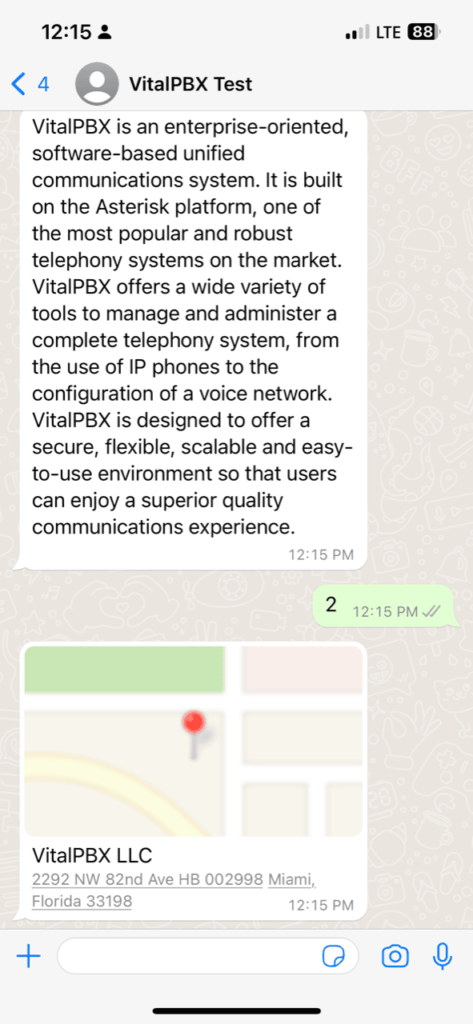
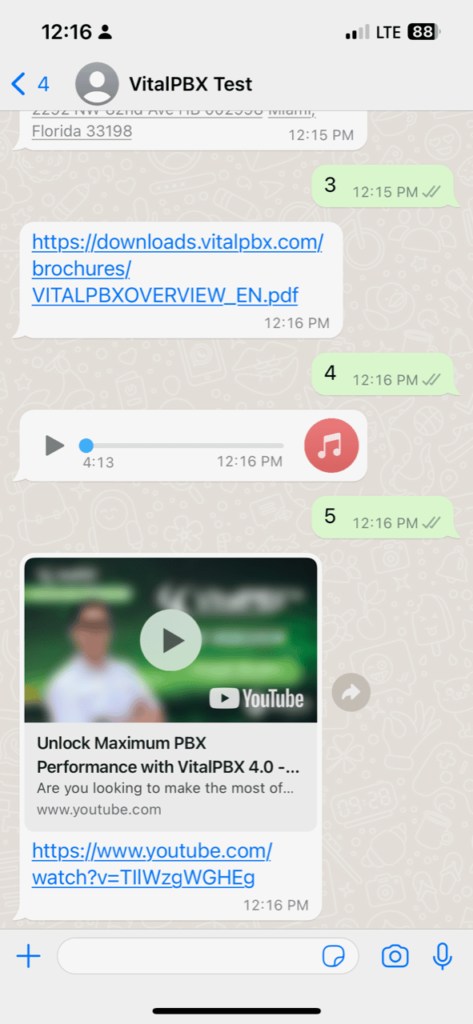
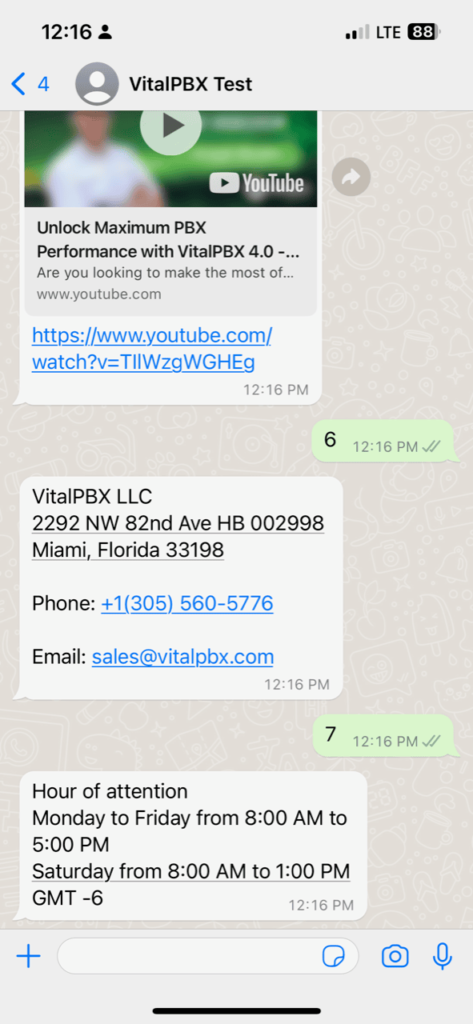
Next, we are going to show a test of the operation of the Chatbot made with the database that has information from VitalPBX.
Menu

Option 1 (text)
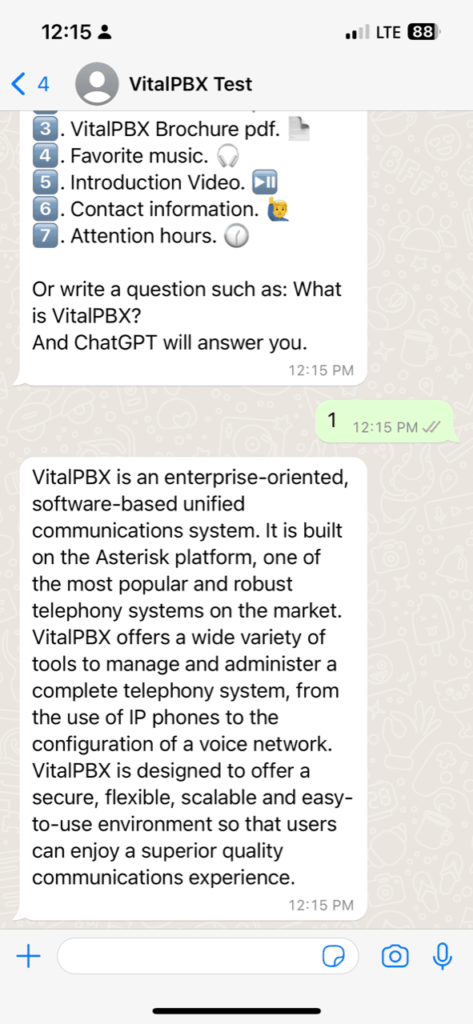
Option 2 (Address)
Option 3 (pdf file), Option 4 (Audio), Option 5 (Video)
Option 6, 7 (Text, Company information)
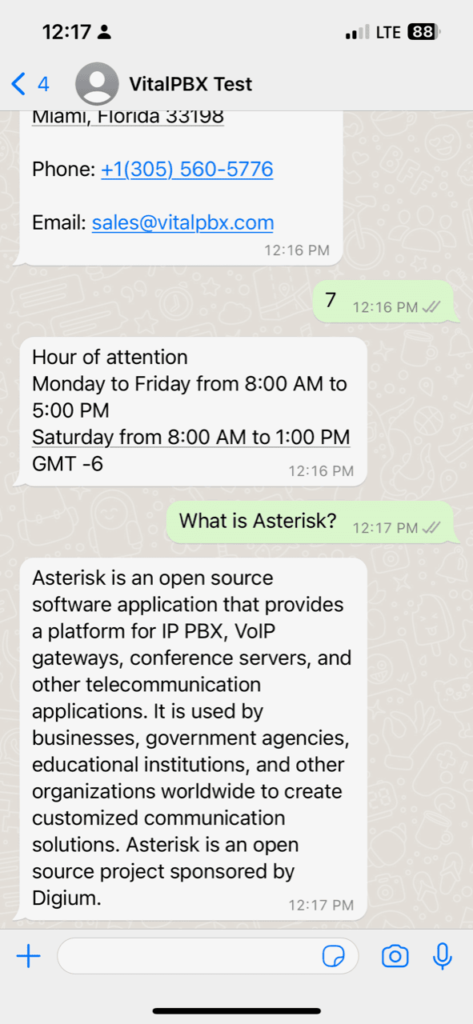
Questions to ChatGPT
