Build your PBX under USD 100.00!
Introduction
Many have asked us which is the most economical way of having a PBX without sacrificing quality and can handle a good number of calls.
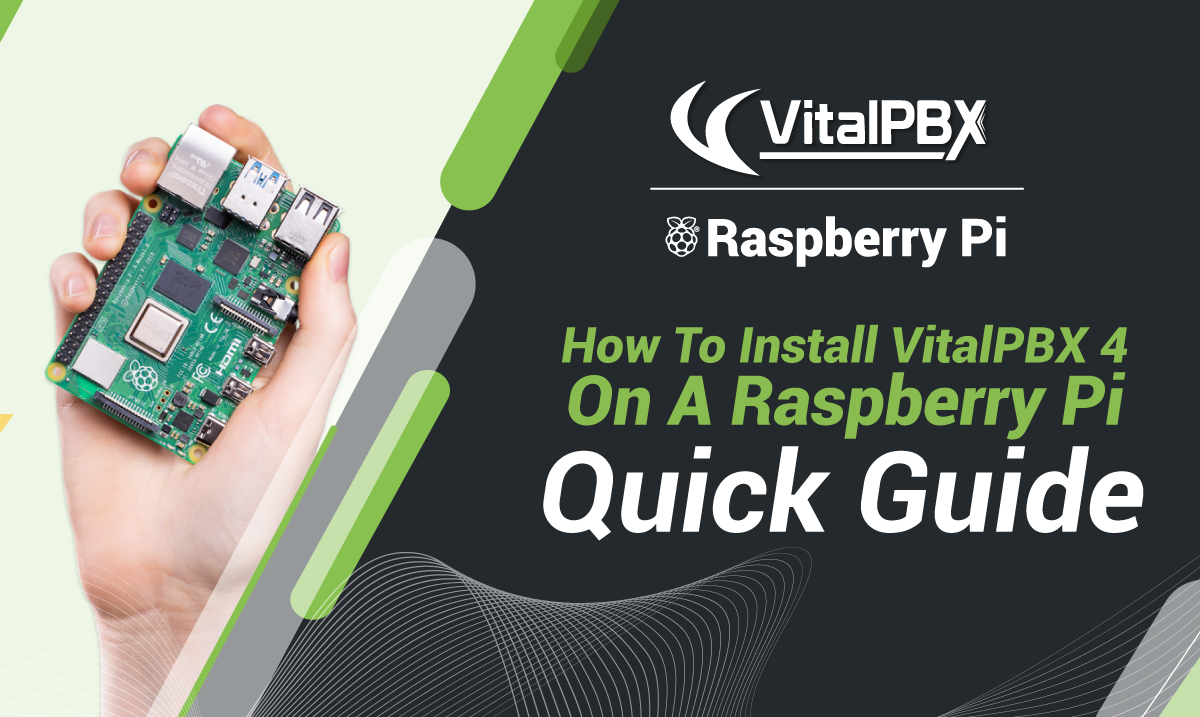
The team at VitalPBX has invested countless hours in development to be able to port the best PBX software possible. VitalPBX 4 being based on Debian 11 (Bullseye) allows us to install VitalPBX on multiple architectures, ARM being one among them. Throughout our example, we are using a Raspberry Pi 4 with 4GB of RAM.
Budget
To build our new low budget PBX we recommend the https://www.canakit.com/ website, and purchase the following:
- USD 55.00 – Raspberry Pi 4 with 4GB of Memory, https://www.canakit.com/raspberry-pi-4-4gb.html
- USD 17.99 – Raspberry Pi 4 Case kit, https://www.amazon.com/Listed-Supply-Raspberry-iUniker-Heatsink/dp/B0963HHSWK/
- USD 20.99 – 128GB Micro SDXC card, https://www.amazon.com/SanDisk-128GB-Extreme-microSD-Adapter/dp/B07FCMKK5X/
Investment Total: USD 93.98


Feel free to search for variants of these items online, as prices and availability may vary. You may find other power supply or case options that fit your budget better.
Once we have all the components, we can proceed to put the items together. As an alternative option, given the availability of Raspberry Pi 4 units, you can choose the Raspberry Pi 400 Computer, https://www.canakit.com/raspberry-pi-400.html.
In the end, you will have a system with the following specs:
- Quad-Core Cortex-A72 (ARM v8) 64-bit SoC @ 1.5GHz
- 4GB of Memory
- WiFi, Bluetooth, and Gigabit Ethernet
- 2 USB 3.0 and 2 USB 2.0 Ports
- 2 Micro HDMI ports with 4k60 support
- 128GB of Storage
For more technical information on the CPU, you can visit the following link, https://www.raspberrypi.com/products/raspberry-pi-4-model-b/specifications/.
Installation
We will now proceed to install VitalPBX on our micro-SD card, by doing the following steps:
- Download the software that will install the OS into our SD card, https://www.raspberrypi.com/software/
- Insert the SD card into our computer
- Install the application we just downloaded on step 1 and run it.
- Select the OS, Raspberry Pi OS (other) > Raspberry Pi OS (64-bit).


- Now, we press the Settings Button, and we enable the following:
- Set hostname: You can change it to whichever one you want.
- Enable SSH
- Use password authentication
- Set username and password
- Username: pi
- Password: mypassword
The option to configure WLAN is optional, we don’t recommend it, as the PBX will work better under the gigabit ethernet connection.

- Now, we select our SD Card

- And lastly, we click on “Write”, and wait for the process to finish.

- Once we have our SD card with the OS installed, we insert it into our Raspberry Pi and turn the Pi on. Remember to have a mouse, keyboard, and monitor connected.
- Log in to the CLI with the user pi and the password you chose.
- Once we are logged in, we run the following commands: