Today we will talk about one of the most important VoIP providers from nowadays. We are talking about Twilio, who offers many kinds of services, but we will focus on their service of Elastic SIP Trunking. We are going to learn how to configure a trunk from Twilio with VitalPBX, Let’s begin.
Read our tutorials and guides on how to implement new tools and technologies for your business with VitalPBX here.
Configuring Trunk in Twilio
- The first step that we have to do is to create a free Twilio account
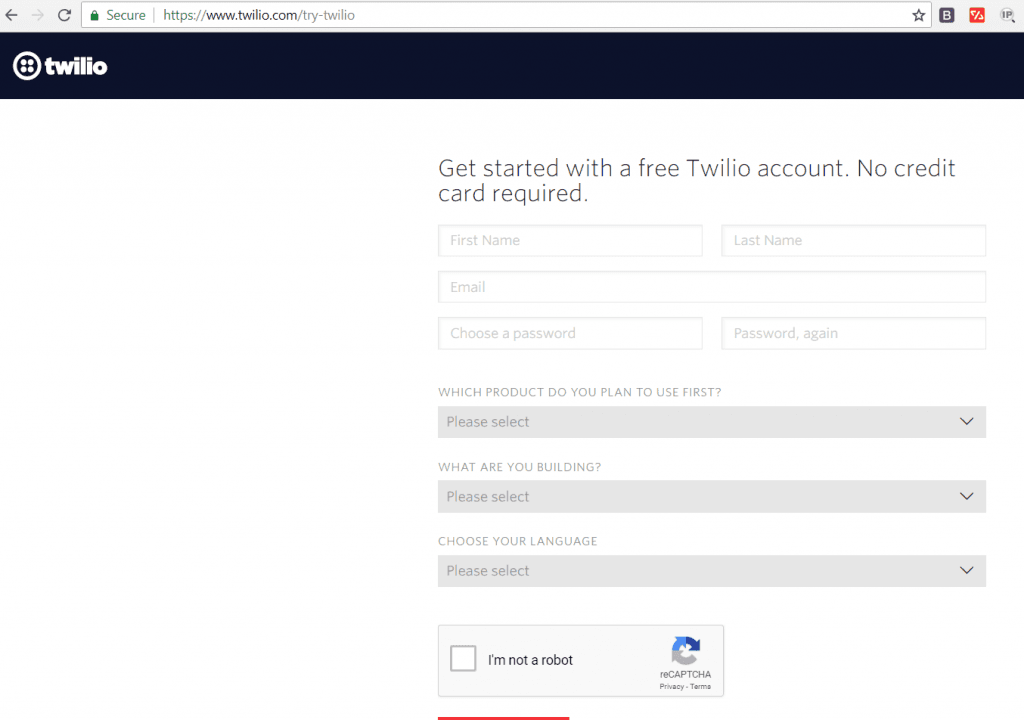
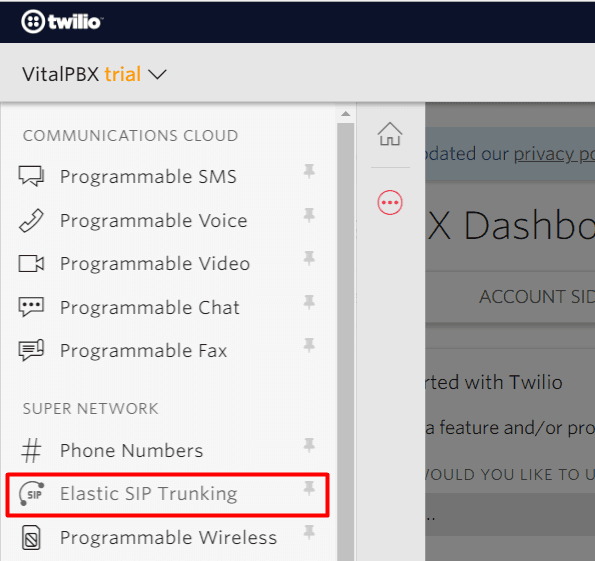
- After we create and verify our Twilio account we will proceed to create an Elastic SIP Trunking
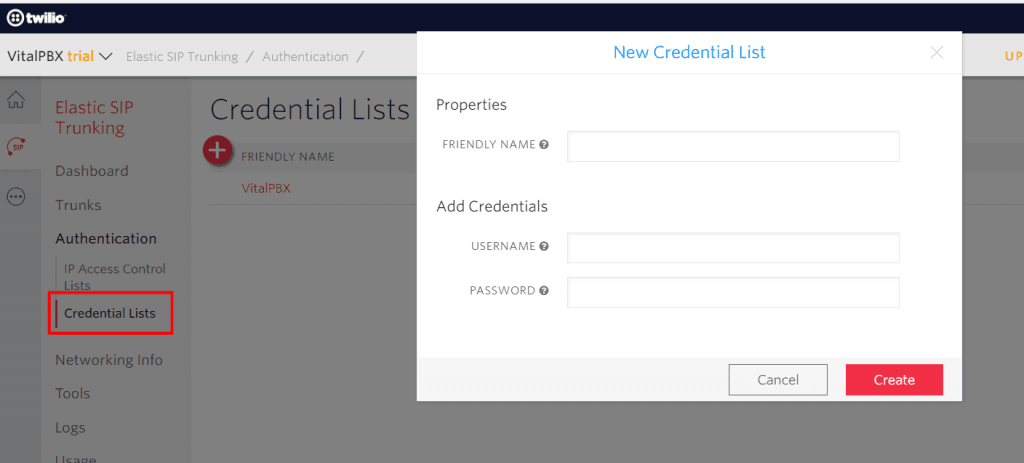
- Now, we will create the credentials that will be used to authenticate the INVITE for termination calls inbound to Twilio.
- Next, we will go to the trunks section to create our first Twilio trunk. The first thing that you will be asked for will be a descriptive name for your trunk, then, a sub-menu for your trunk will appear with the following options:
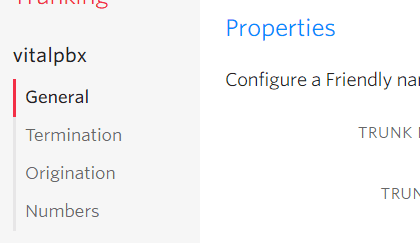
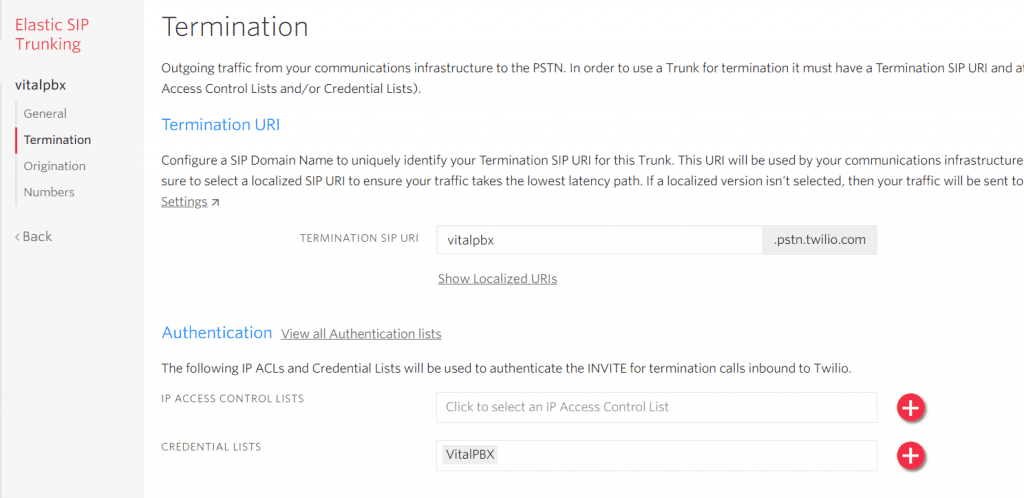
- In the above menu, we will go to the termination section to configure our Termination URI and the Credential List.
Configuring Trunk on VitalPBX
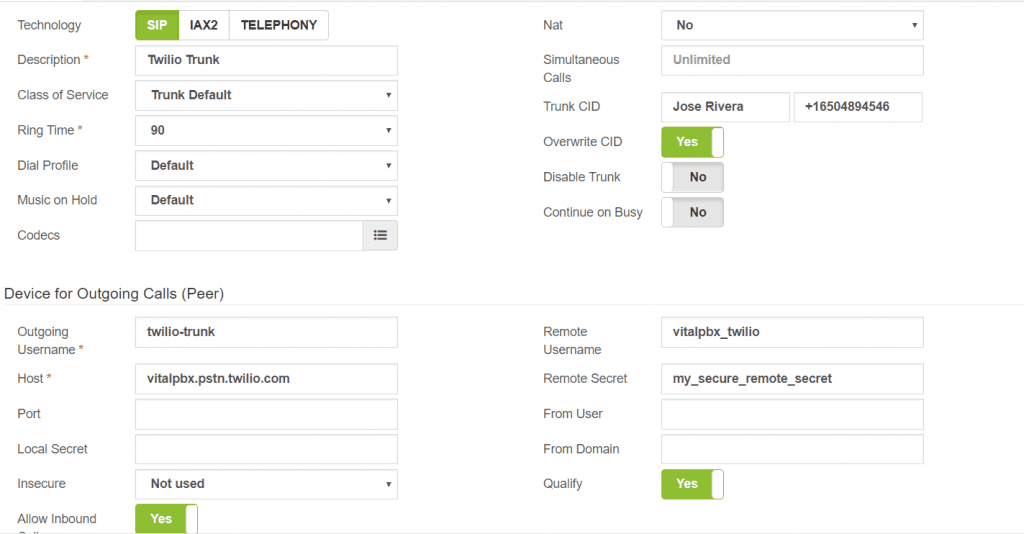
As shown in the previous image there are very few fields to configure. We will explain each of the fields necessary to configure the VitalPBX trunk with Twilio.
- Trunk CID: The Trunk CID field is an important parameter, due that Twilio only accept calls from verified numbers. Don’t forget to enable the field “Overwrite CID” to send the right caller ID.
- Host: This field contains the Termination URI that we have created in the termination section of our Twilio trunk.
- Remote Username: In this field, we will set the username that we have added to the credential list associated with our Twilio trunk.
- Remote Secret: In this field, we will set the password that we have added to the credential list associated with our Twilio trunk.
- Register String (Use Default): This field is not used, therefore, you must disable it.
Configuring Outbound Routes
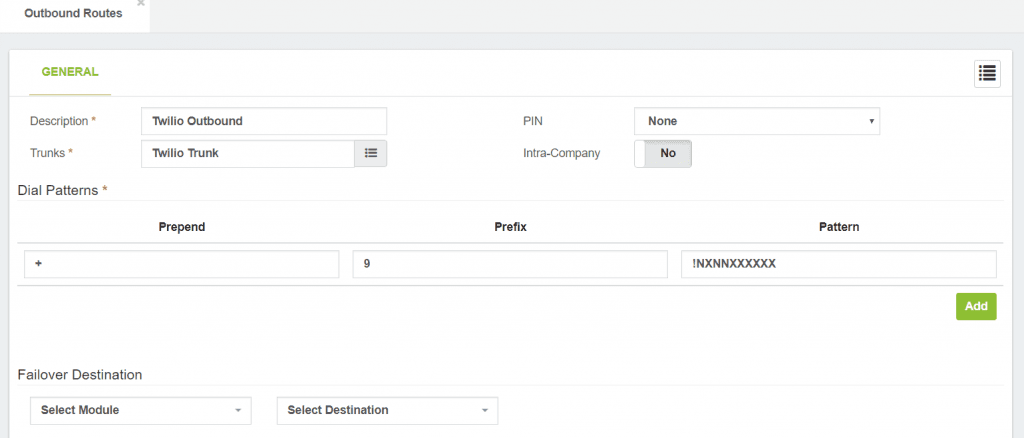
Due that Twilio trunks only accept numbers in E.164 format, we will create an outbound route to force us to use that format. E.g. if we want to dial the number “+14155552671” with the pattern defined, we must dial it in the following way: “914155552671“, the plus sign will be added automatically.
Learn more about VitalPBX, our services and how we can help you achieve your goals in our official website.

