Today we are going to talk about another popular VoIP provider. Previously, we had talked about Twilio and Telnyx, but today we will talk about VoIP.ms, another option of VoIP providers that we are taking you on a step by step of how to configure a SIP Trunk with VitalPBX.
Read our tutorials and guides on how to implement new tools and technologies for your business with VitalPBX here.
The first thing we do is to create an account in VoIP.ms. In some cases they are strict and they ask you for certain data to verify the identity of the user. After you pass the verification process you are ready to create your first trunk.
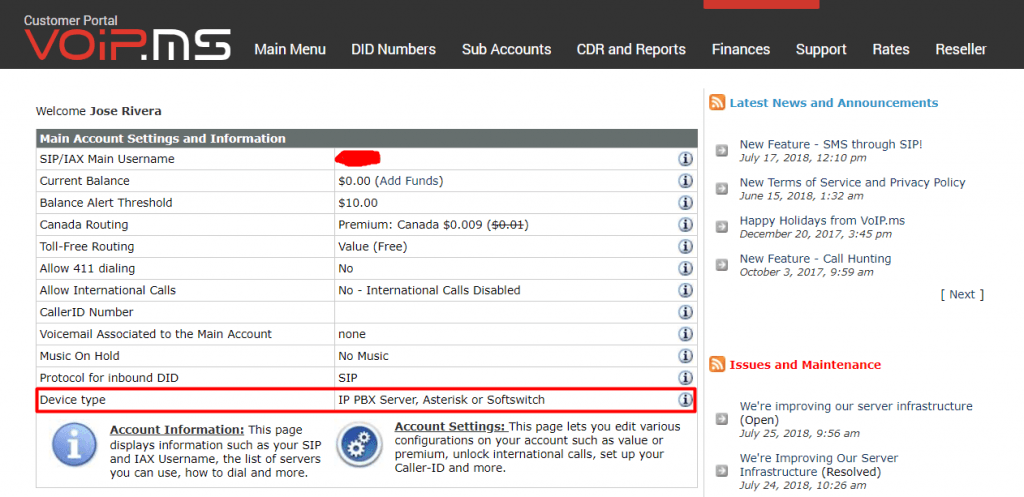
There are two important parameters you must to verify in the home portal. First, “SIP/IAX Main Username“, which serves as your SIP and IAX username to place calls with your main account. The second parameter you must to configure is the “Device type“; this must be set to “IP PBX Server, Asterisk or Softswitch” in order to receive incoming calls to your account properly. The other options you can configure according to your needs.

Configuring the SIP Trunk on VitalPBX
To make the configuration of the trunk easier in VitalPBX, we will use a new feature included in version 2.0.4-1, which is the ability to create trunks in plain text mode.
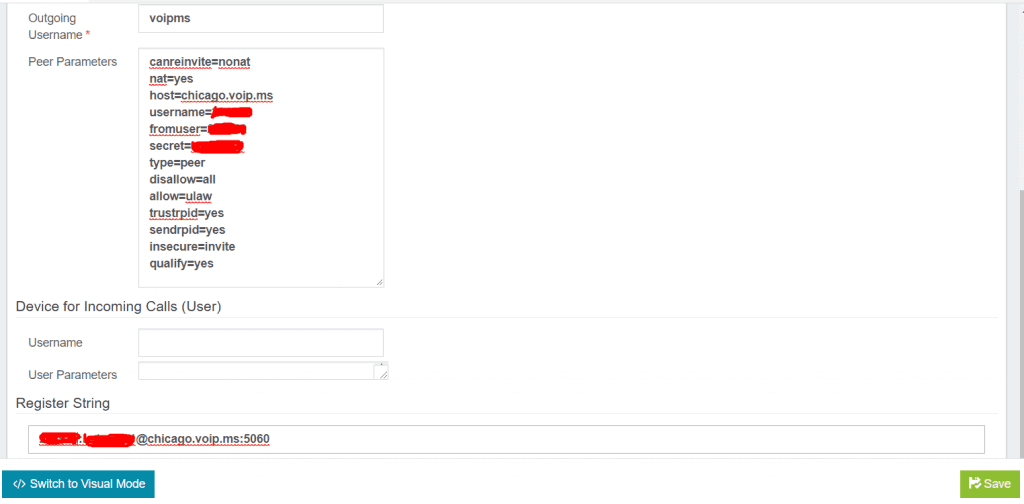
We will paste the following configuration in our trunk on the peer parameters field:
canreinvite=nonat
nat=yes
host=chicago.voip.ms
username=100000
fromuser=100000
secret=******
type=peer
disallow=all
allow=ulaw
trustrpid=yes
sendrpid=yes
insecure=invite
qualify=yes

Let us explain the most important fields:
- Host: one of the multiple servers from VoIP.ms, you can choose the one closest to your location
- Username & From User: In these fields, you must set your Main SIP Account User ID or Sub Account username
- Secret: Password associated with the Main or Sub-account. The default password of the Main SIP Account is the one you have entered at the time of sign up.
- Register String: It is formed by your SIP username, password, server and registration port as shown: YourAccountNumber:[email protected]:5060
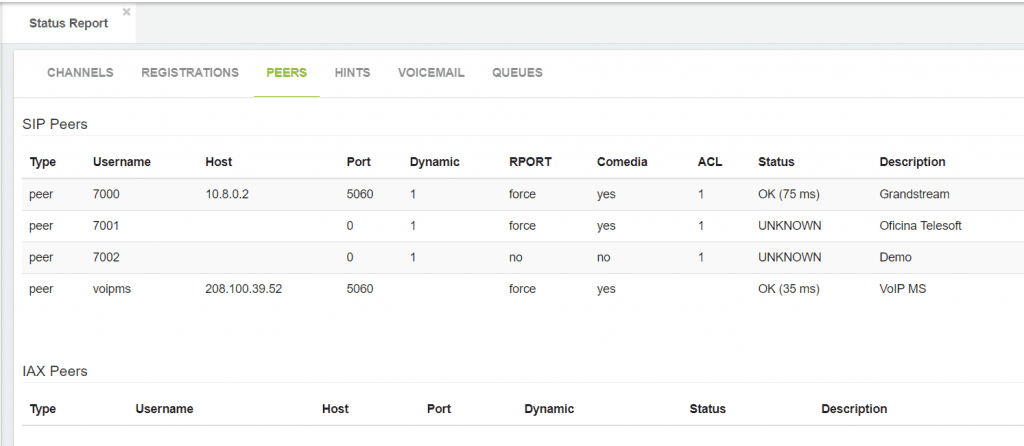
After you configured the trunk and applied the changes, you may verify the status of your trunk under Reports / PBX Reports / Status

Configuring the Outbound Routes on VitalPBX
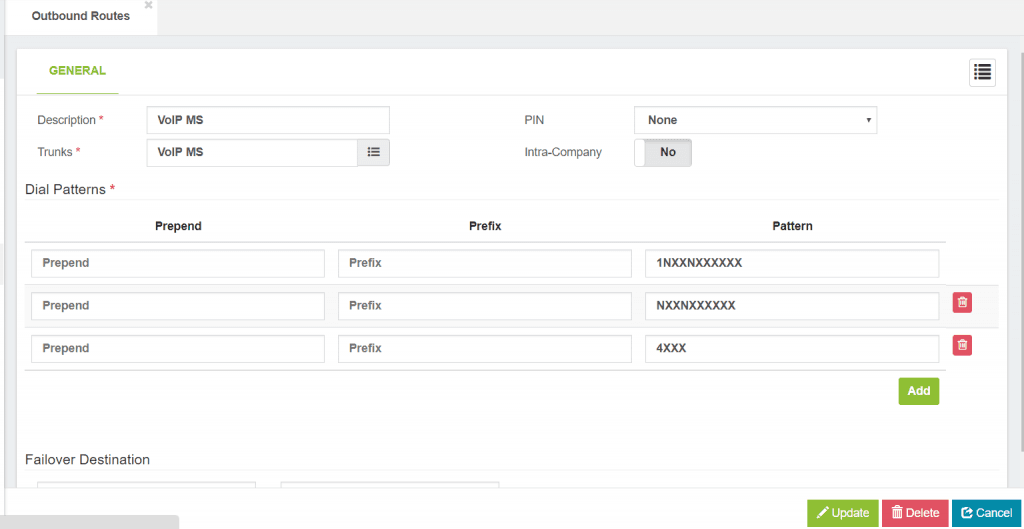
To make calls through the VoIP.ms trunk we will configure the following dial patterns:
- 1NXXNXXXXXX
- NXXNXXXXXX
- 4[47]4[37] (This one gives us the ability to test the Sound Quality Test – 4443 and DTMF Test – 4747)

Learn more about VitalPBX, our services and how we can help you achieve your goals in our official website.


